Linux lite
Содержание:
- File Search
- USB Persistence
- How do I know if my computer has UEFI?
- Виды операционных систем
- Lite Software — Remove Software
- Lubuntu
- Themes & Icon sets
- Установка
- Дистрибутивы, основанные на Ubuntu
- Локализация Linux Lite 2.4
- Customizing Linux Lite
- Tour
- Network Shares — Create Linux Lite Shares
- Updates
- Creating and Extracting compressed files
- Релизы
- Installing Software
- Управление программами
File Search
File search is an easy to use GUI file search utility found under Menu, Accessories, File search.
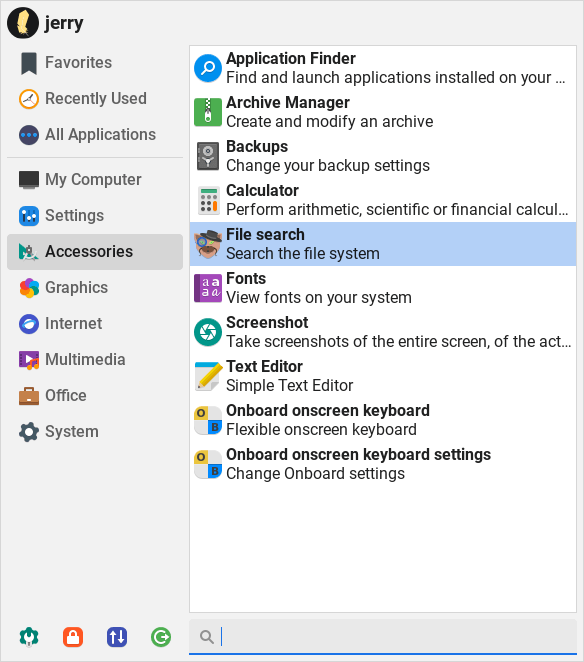
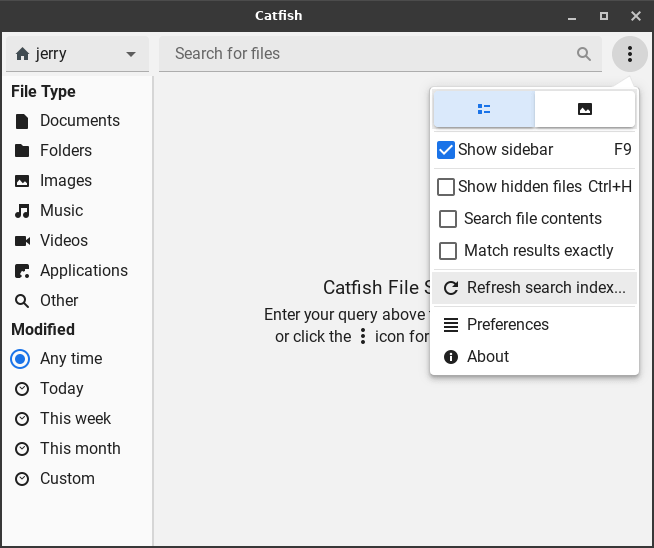
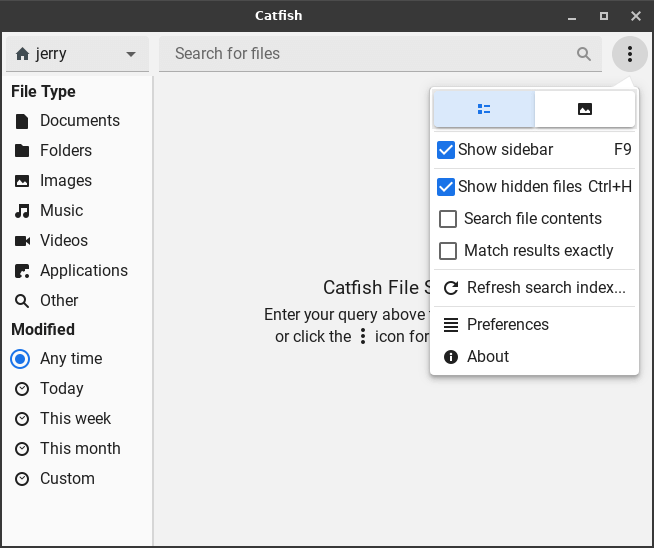
Upon opening File search, you will see this file search window: Click the gear icon in upper-right corner and choose Refresh search index.
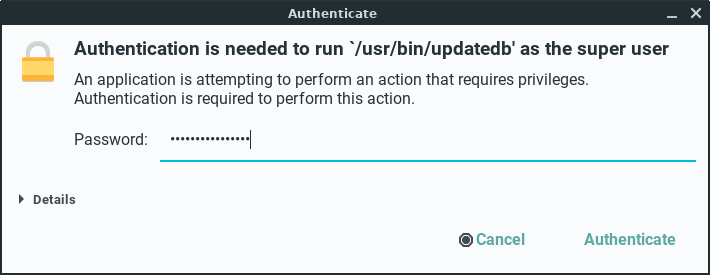
Now click on the Unlock button.

Enter your password.
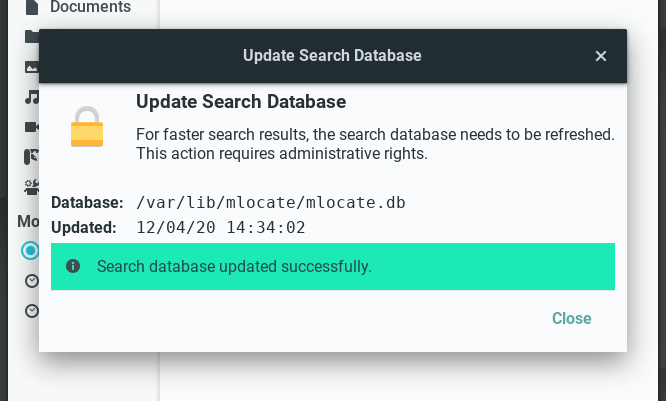
File search uses the locate command to search for files. The locate command relies on a database it maintains of the files on your computer.
That database gets automatically updated periodically — normally once a day. Before conducting a search it is a good idea to manually update
the database index to make sure that any file changes made since the last update are reflected in the search results.
Update complete.
You can also use the gear button for other options like displaying advanced settings in the search window. The advanced settings display
lets you filter search results by file modification dates, file types, file extensions, etc.
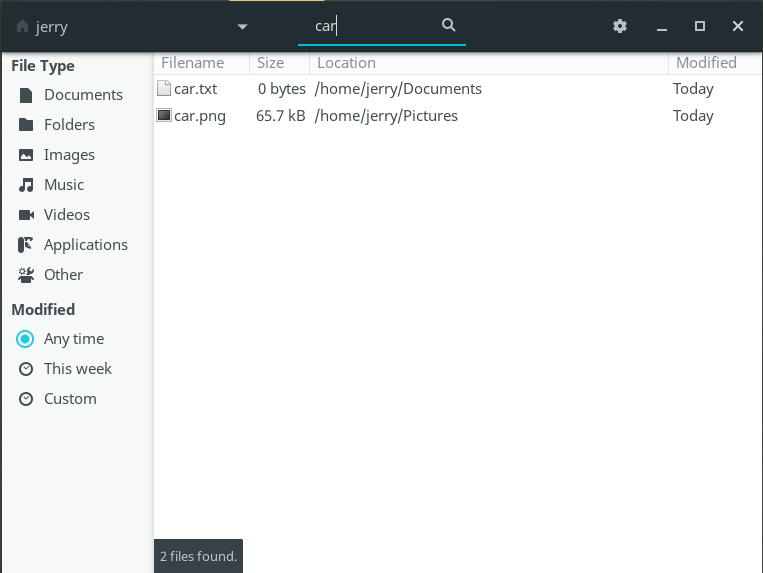
The example below shows a search in my Home folder for any file with car in the file name.
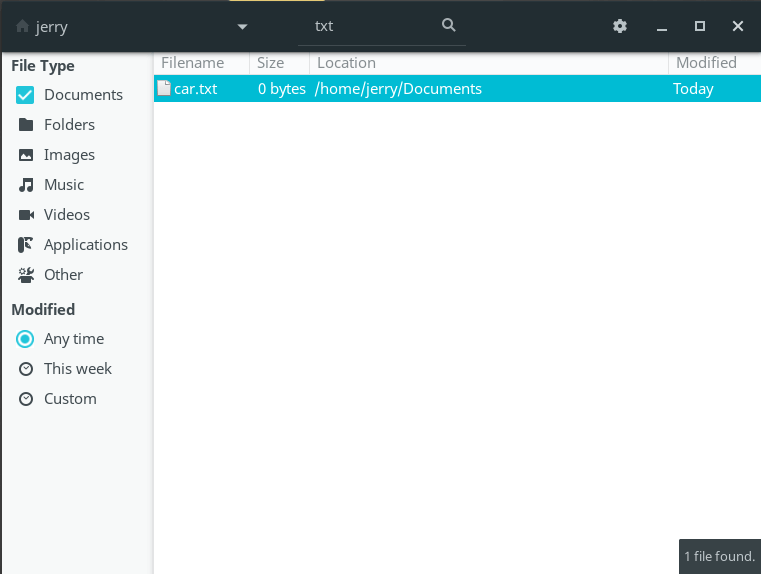
To limit the results to only txt files, simply click Documents under File Type in the advanced settings.
USB Persistence
USB Persistence enables the user to have a USB device with Linux Lite installed onto it, that can then be rebooted and all the files and settings are still available.
The following tutorial will walk you through how to install Linux Lite to a USB device.
We will use mkusb to create our persistent USB.
First, we install the mkusb PPA. Complete one line at a time.
Terminal Command:
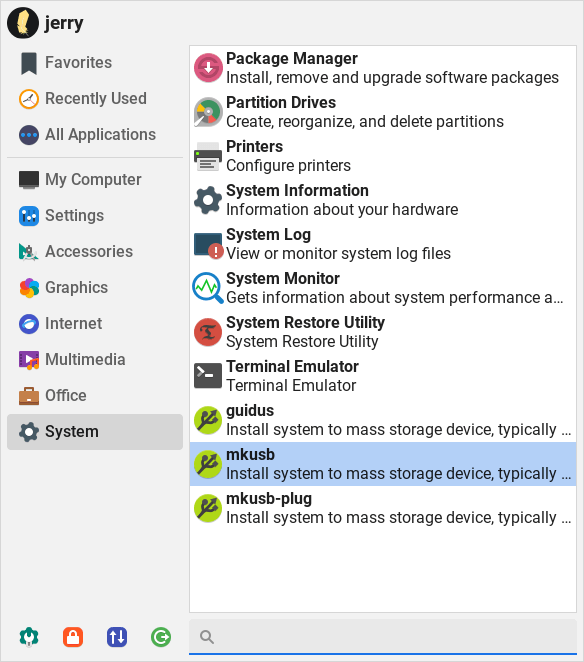
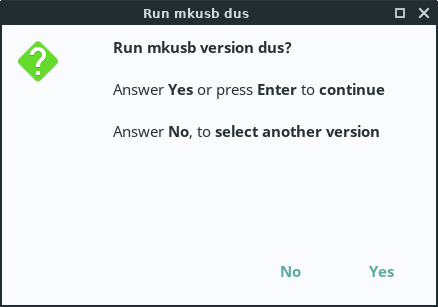
Launch mkusb, Menu, System, mkusb.
Click on Yes for the dialogue box.
Enter your password.
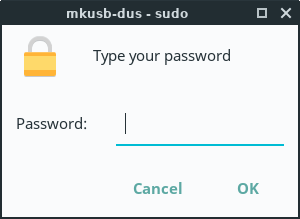
Click on OK for the next box.

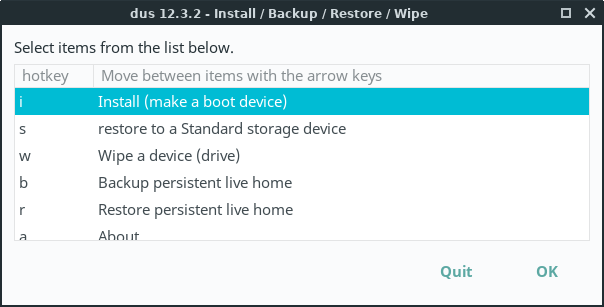
Select Install (make a boot device) and click on OK.
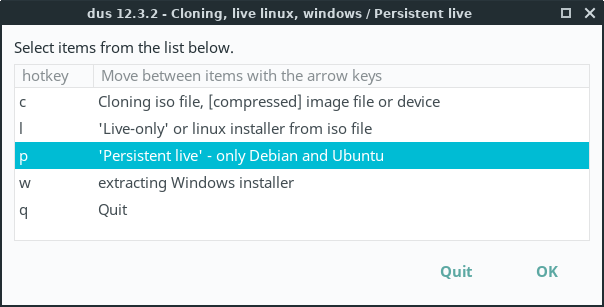
Select ‘Persistent live’ — only Debian and Ubuntu and click on OK.
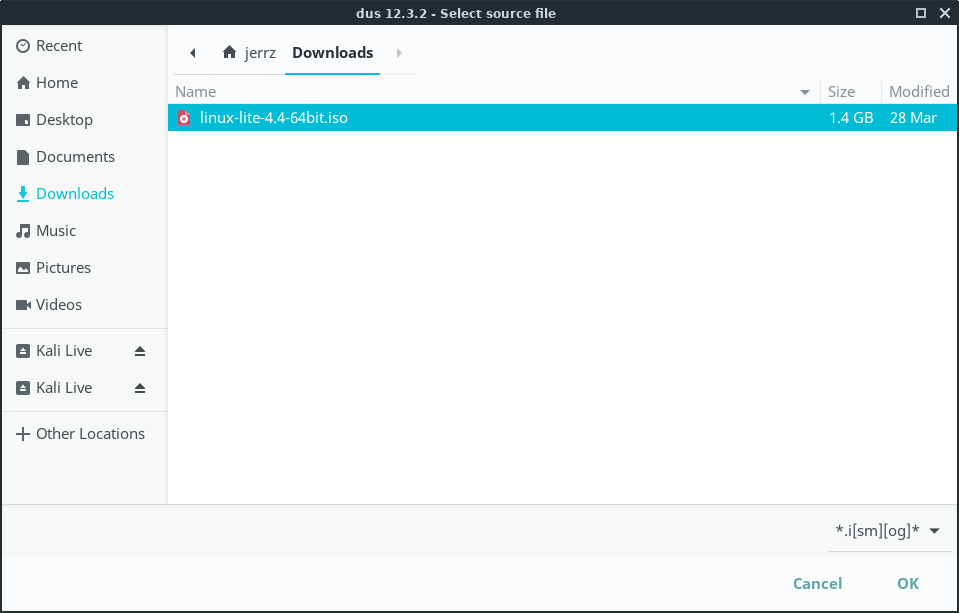
Select the Linux Lite ISO image file.
Make sure the correct USB device is listed and selected and click on OK.

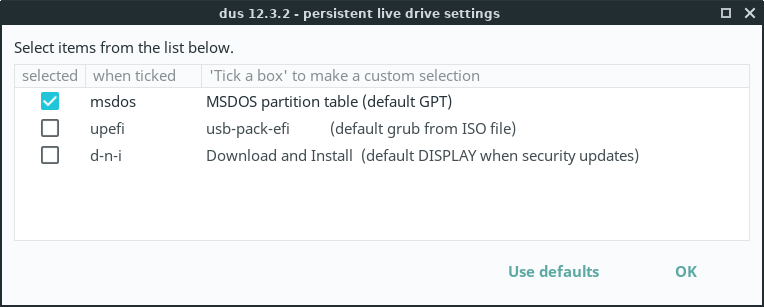
Select msdos from the list and click on OK. You will need to select upefi if you are using one of our UEFI installs on your UEFI computer.
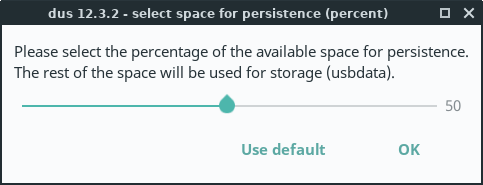
Adjust the slider to your preferences or just accept the default persistence space.
This is the space where your settings and files will be saved to so make sure to give it adequate space.
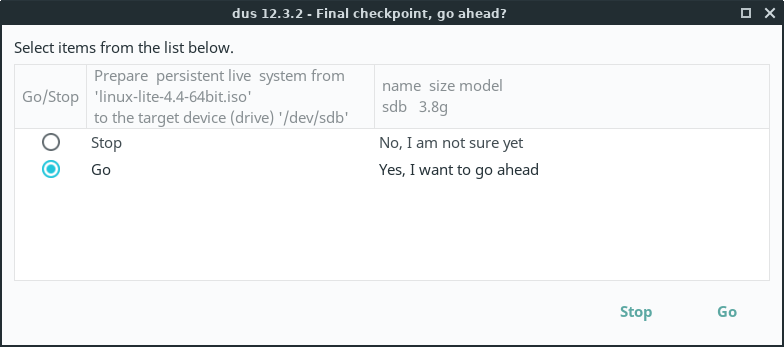
When you are ready, select Go then click on the Go button.
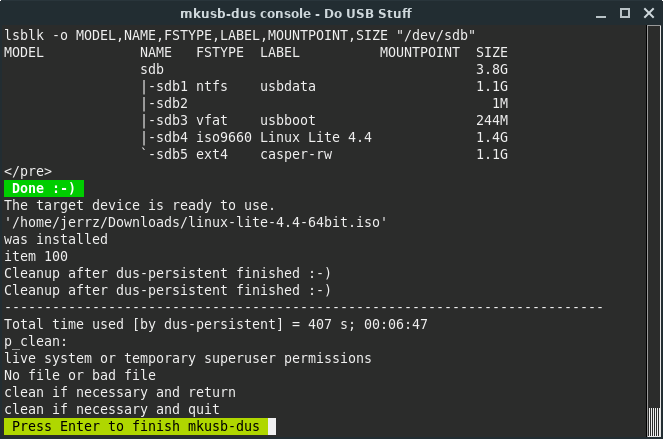
The application will now go ahead and create the USB persistence for you. This may take some time.

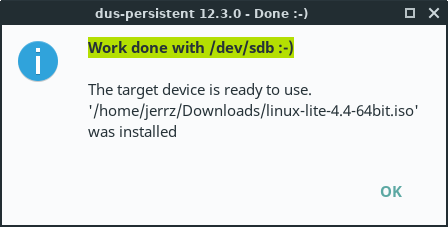
The process is now complete. Click on all the Quit options. You can now plug your USB device into a computer and boot from it.
How do I know if my computer has UEFI?
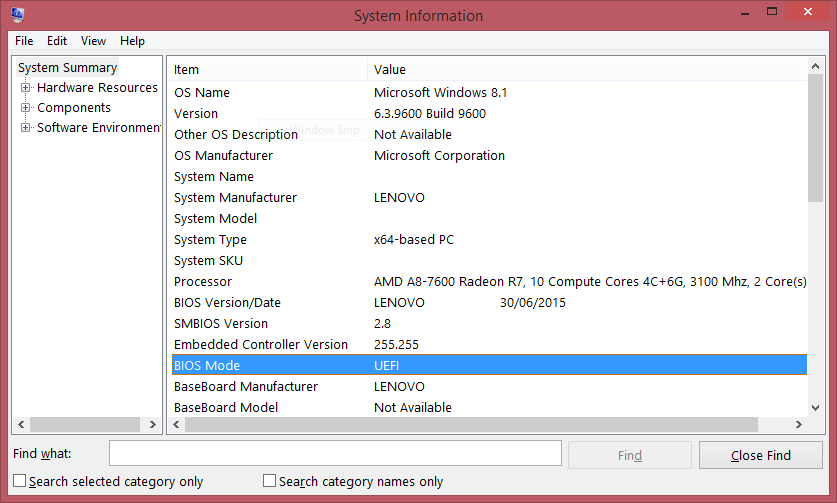
In Windows Search, type msinfo or msinfo32 and launch the desktop app named System Information. Look for the BIOS Mode item, and if the value for it is UEFI, then you have the UEFI firmware.
If it says BIOS Mode Legacy, then that’s the firmware you’re running. Also, in general, UEFI-enabled machines have faster startup and shutdown times as compared to BIOS-Legacy machines.
If you bought the computer/motherboard after 2010, chances are you have a UEFI system. If you are still unsure, download the UEFI version as it will also detect and run on a BIOS-Legacy computer.
If you have an older, legacy type BIOS computer don’t worry, Linux Lite will still detect this and install on your computer.
Виды операционных систем
Прежде, чем решать, какая операционная система лучше для ноутбука , следует рассмотреть особенности всех ОС, для этого вида техники. Наиболее распространенные три вида ОС:
- MacOS;
- DOS;
- Windows от Microsoft;
- Linux.
Необходимо подробно рассмотреть более подробно плюсы и минусы данных операционных систем.
MacOS
Установить MacOS на любой другой ноутбук кроме Макбука не получится (речь не идет о виртуальной ОС). Эта система предназначена только для «яблочных» машин.
Макбуки стоит рассматривать только как единое целое с операционной системой, регулярно обновляемой производителем.
Linux
Система работает даже на самых маломощных ноутбуках. Распространяется бесплатно в виде дистрибьюторов с открытым кодом. В итоге систему есть возможность доработать и поменять ОС. Linux Mint предоставляется в сборках с тремя интерфейсами:
- Xfce – система для наиболее слабых аппаратов, у которых менее 1 Гб оперативки;
- Mate – классический интерфейс для более сильных аппаратов;
- Cinnamon – современный вариант интерфейса, который возможно устанавливать только в случае, если есть хотя бы 2 Гб оперативной памяти.
К минусам системы относятся некоторые проблемы с установкой специфических устройств, в которых может быть не написан драйвер под данную операционку.
Мало кто знает про операционную систему endless на ноутбуке, что это такое. Это ОС, установленная на базе Linux. Легко устанавливается на большинство ноутбуков ASUS и ACER, которые продаются в Российских магазинах.
Windows
Безусловно, самой популярной сегодня операционной системой является Windows от Microsoft.
Ей сложно найти замену, особенно людям, работающим с целым рядом специфических приложений, запускаемых исключительно под «окнами», а также геймерам.
Какие «окна» устанавливать?
Для маломощных ноутбуков (до 1 Гб ОЗУ и 1-ядерным процессором) как нельзя лучше подойдет «старый-добрый» Windows XP.
Эта ОС зарекомендовала себя очень хорошо, все «дыры» и «баги» в ней достаточно хорошо «залатаны» и если от ноутбука требуется лишь обеспечивать интернет-серфинг, работу в офисных приложениях, просмотр видео и несложную обработку фотографий, то Windows XP продлит жизнь даже самому старому устройству.
- После провальной Windows Vista, Семерка стала настоящим прорывом Microsoft:
- Быстрая
- С новым привлекательным интерфейсом
- Работает с различной архитектурой процессора
Если ноутбук имеет хотя бы 2 Гб ОЗУ и 2-ядерный процессор, то Windows 7 станет идеальным выбором.
ОС имеет две версии 32 битную и 64 битную. Множество прикладных программ сейчас выходят исключительно в 64 битной версии. Однако для установки Windows 7 64 необходимо иметь минимум 6 ГБ ОЗУ.
Windows 10 — последняя из семейства Windows имеет множество достоинств и, пожалуй, столько же недостатков. К которым относят постоянные несанкционированные обновления, отправку отчетов в офис компании производителя и даже слежку за пользователем.
Тем не менее, на новый, мощный ноутбук лучше устанавливать именно десятку, так как Microsoft осуществляет ее поддержку в полном объеме, чего не скажешь о предыдущих версиях системы.
DOS
Эта система стояла на большинстве компьютеров буквально 10-15 лет назад. Главное достоинство данной операционки – тесное взаимодействие с аппаратурой. Это еще и недостаток. Последняя версия появилась в 2003 году.
FreeDOS – новая, современная и совместимая с MS-DOS операционка.
Lite Software — Remove Software
Removing Additional Software in Linux Lite is just a few simple steps.
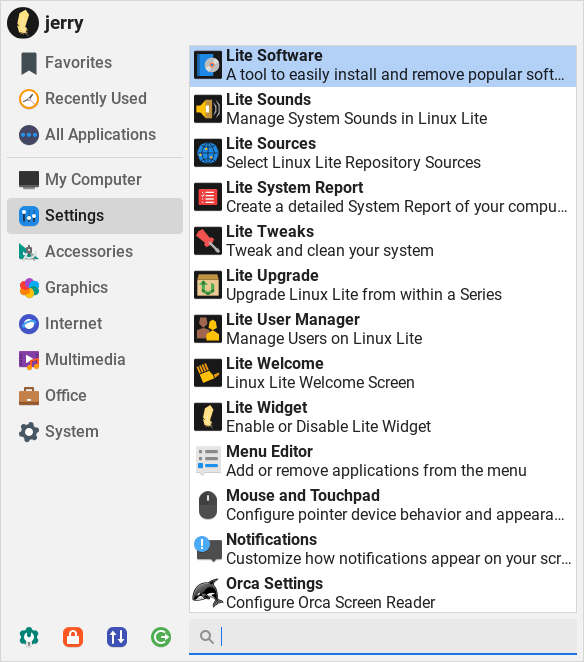
Click on Menu, Settings, Lite Software.
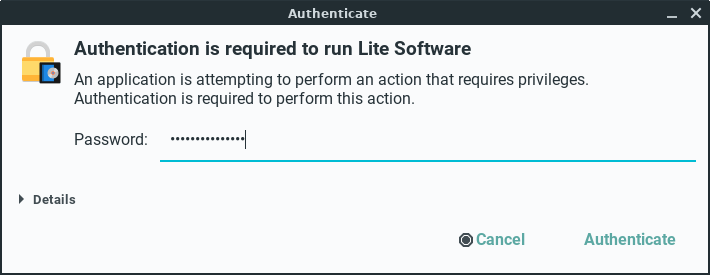
Enter your password and click OK.
Next you will be shown the Update Software Sources window, always answer Yes.
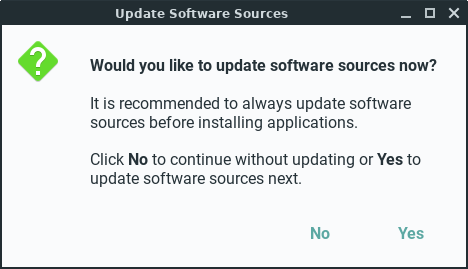
Sources will be updated:

Once the sources have been updated, the following window will appear, select Remove Software and click OK.
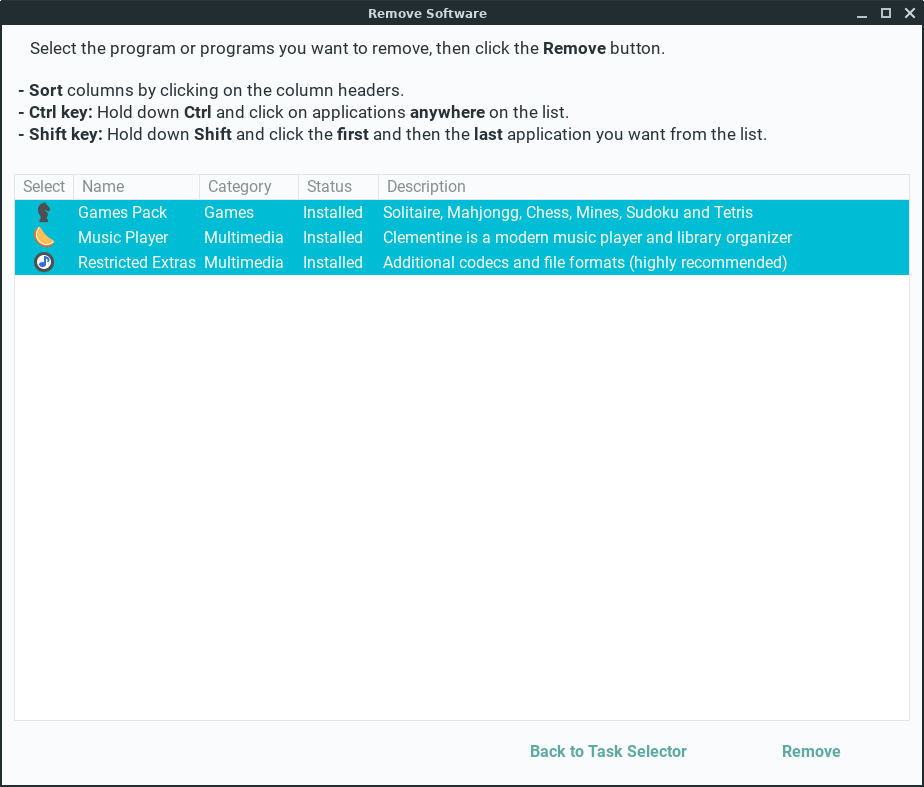
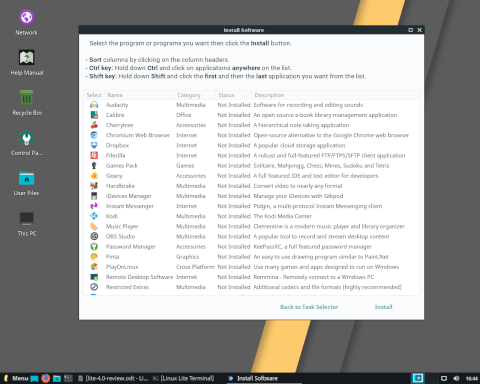
Next, you’ll see the following window pop up. Select each application by holding down the Ctrl key. You may
choose to remove more than one package at a time if you like. In this example we’ll choose to remove, Games Pack,
Music Player and Restricted Extras. Next, click the Remove button.
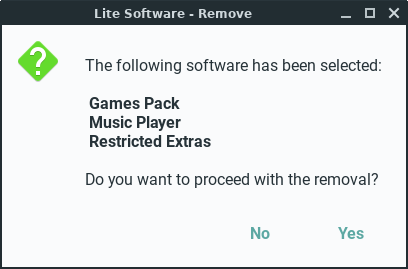
In the next dialog, you’ll be shown which applications you’ve selected to remove. Click Yes when ready.
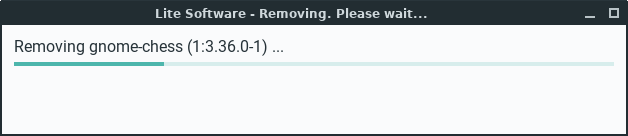
The programs will now be removed automatically for you. This can take anywhere from a few seconds to a few minutes depending on how many applications you’ve
selected and the size of the program/s.
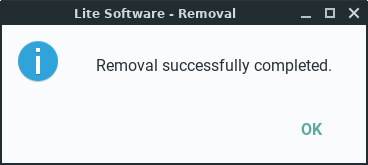
When the removal process is complete, you will get a confirmation like the following. Click OK.
The Lite Software window will reappear at the end in case you want to perform another task. If you have finished, click Quit.
Lubuntu
Минимальные требования:
- Процессор Pentium II или Celeron
- 128 МБ ОЗУ
- 2 ГБ дискового пространства
Любой список легких дистрибутивов Linux для ноутбуков и старых ПК неполноценен без упоминания Lubuntu. Многие из вас, должно быть, знают, что это официальная версия Ubuntu. Благодаря этому в Ubuntu и Lubuntu используется одинаковое программное обеспечение и репозитории. Стоит отметить, что начиная с Lubuntu 18.10, проект перестал выпускать поддержку 32-битных образов. Таким образом, это может быть большой проблемой для тех, кто использует старые компьютеры с 32-битным оборудованием.
Эта быстрая и легкая операционная система для старых настольных компьютеров использует минималистичный рабочий стол LXQt и прекрасный выбор легких приложений. Стоит отметить, что LXQt современен по сравнению с LXDE и был создан в результате слияния проектов LXDE и Razor-qt.
Lubuntu поставляется со всем важным программным обеспечением, которое вам нужно. Вы получаете веб-браузер Mozilla Firefox, программу для чтения PDF-файлов, устройство для записи компакт-дисков, почтовый клиент, MP3-плеер, текстовый редактор, MTPaint и многое другое. Если вы знакомы с Ubuntu и ищете дистрибутив Linux для старого ПК и виртуальной машины, выберите Lubuntu.
Themes & Icon sets
The default theme for Linux Lite is Adapta. The default icon set is Papirus-Adapta.
There are some additional Theme and Icon sets in Linux Lite. Go to Menu, Settings, Settings Manager.
There are 2 main areas in the Settings Manager that take care of these settings — Appearance and Window Manager.
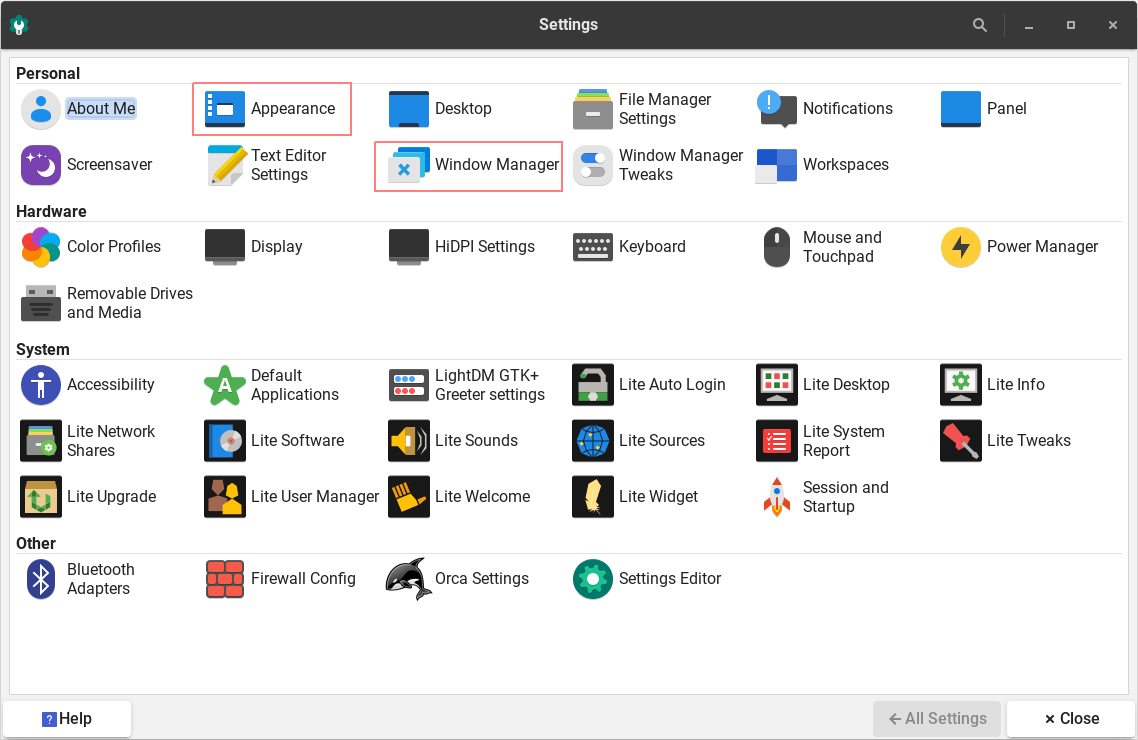
Click on Appearance. Here you will see the Style and Icons tab.
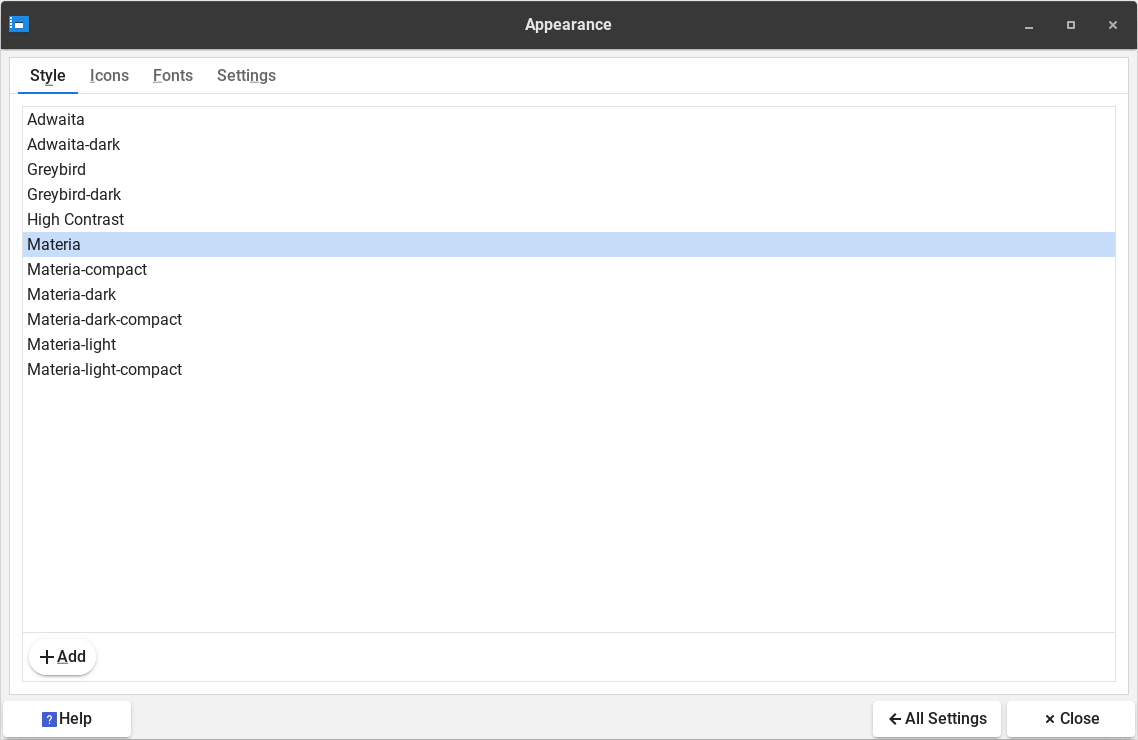
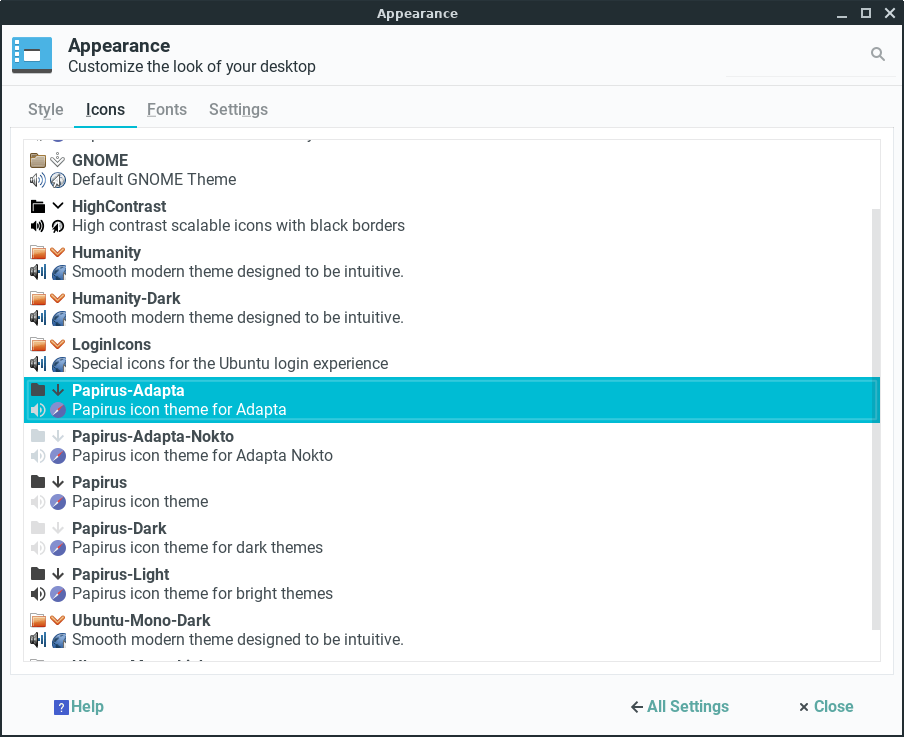
As you click through the various themes and icon sets you will notice visual changes on your computer.
Click All Settings to get back to the main Settings Manager window; then select Window Manager. The
Style tab will display available themes that tweak the look of open window frames and the minimize/maximize/close buttons in the windows.
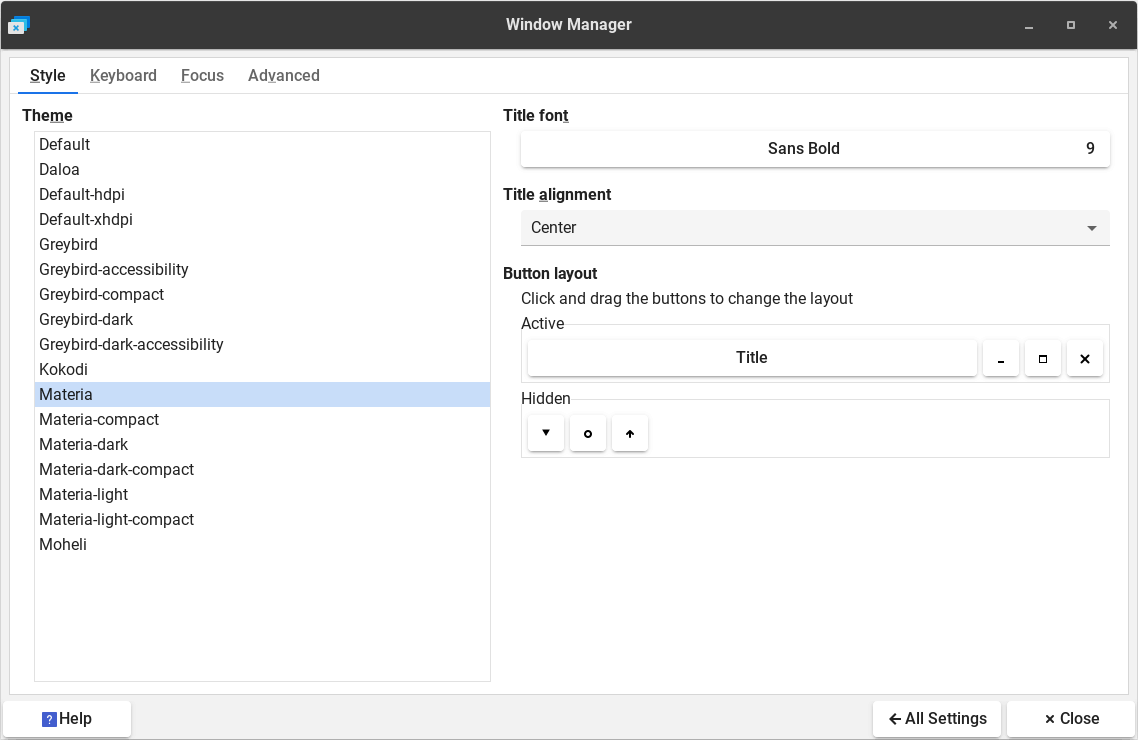
Click through some of the choices to see how things change. Go back to the Appearance settings, pick a new theme, then come back to
the Window Manager settings and go through choices again. You may notice that the Window Manager settings look slightly
different depending on which Appearance theme you choose. Experiment with different combinations to find one you like.
Close Settings Manager before moving onto the next part of this tutorial.
This next section will show you how to apply new themes and icons.
Установка
Ubuntu может запускаться без установки на компьютер (Live-режим). Установка самой системы также выполняется из Live-режима.
Установка системы простая и выполняется в графическом режиме.
Ubuntu 18.04.2 LTS: Установка дистрибутива
Руководство:
- Установка Ubuntu
- Установка Linux Mint
Дистрибутивы, основанные на Ubuntu
Некоторые дистрибутивы, представленные в нашем каталоге, основанные на дистрибутиве Ubuntu или тесно связанные с ним:
- CrunchBang
- Elementary OS
- KDE neon
- Kodachi
- Kubuntu
- Linux Lite
- Linux Mint
- Lubuntu
- Peppermint OS
- Pop!_OS
- Ubuntu MATE
- Ubuntu Ultimate Edition
- Xubuntu
- Zorin OS
Локализация Linux Lite 2.4
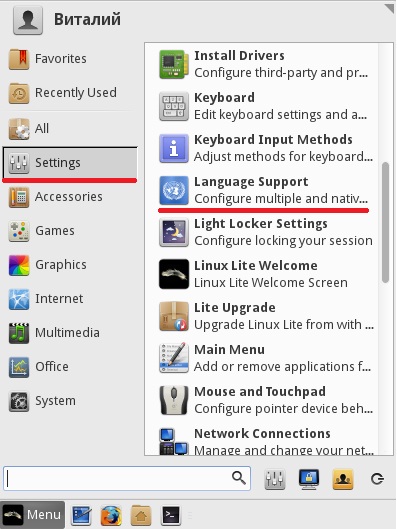
Нам осталось только локализовать нашу систему, т.е. русифицировать ее, это делается очень просто, для начала запускаем из меню языковые настройки Menu->Settings->Language Support
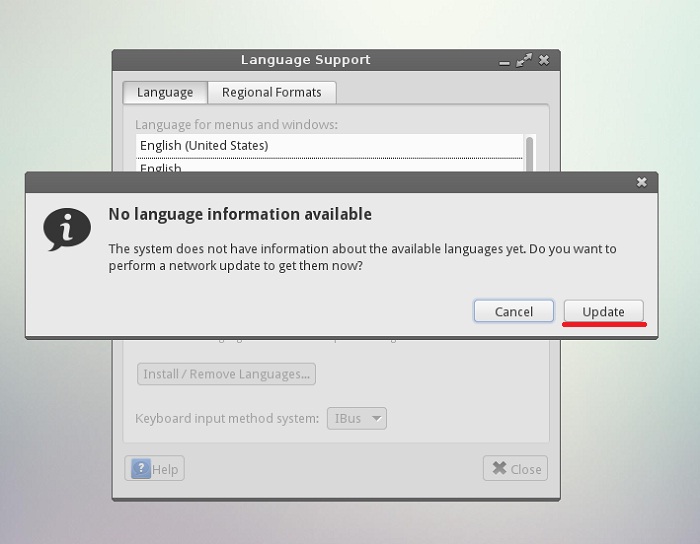
Затем появится окно с сообщением о том, что необходимо загрузить обновления, мы жмем «Update»
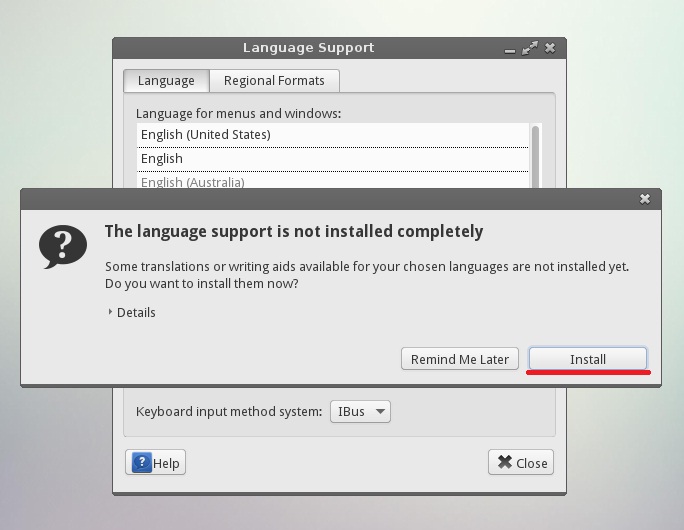
В итоге у нас загрузятся необходимые языковые обновления, и теперь их осталось установить, для этого жмем «Install»
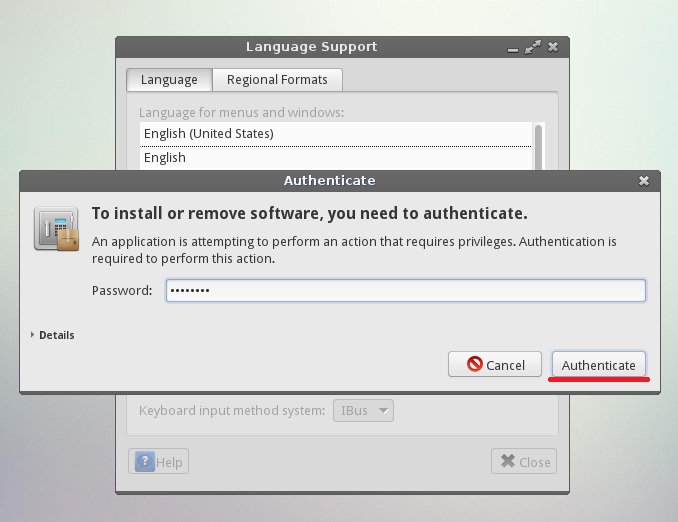
Вводим пароль (мы его придумали во время установки), жмем «Authenticate»
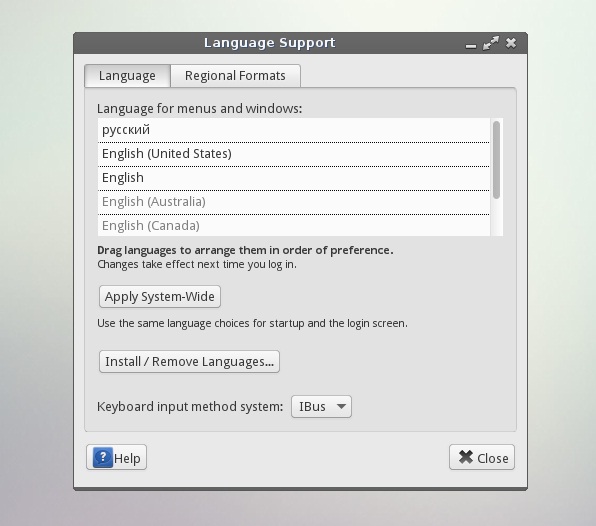
Далее осталось выбрать Русский язык в качестве основного, для этого мышкой перетаскиваем пункт «русский» на самый вверх и жмем «Apply System-Wide» (после этого необходимо еще раз ввести пароль)
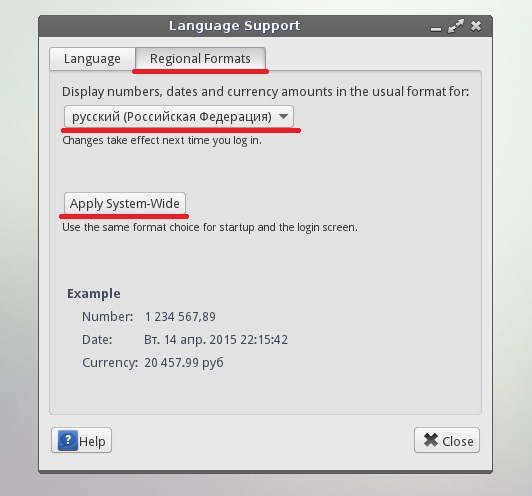
Затем переходим на вкладку «Regional Formats», выбираем «русский» и также жмем «Apply System-Wide»
Вот и все, для того чтобы увидеть все изменения необходимо перезагрузится или сделать выход из системы и войти заново.
Customizing Linux Lite
Linux Lite uses the XFCE desktop environment because it strikes a good balance between resource usage, functionality and customization for the user. It’s
relatively light on resources which makes it suitable for installation on older computers, giving them a new lease on life, as well as on newer systems.
Navigating the applications menu and the file system is straightforward, intuitive and is similar to what many people coming from a Windows XP or Windows 7
environment are used to. At the same time, XFCE offers a variety of ways for people to customize the look and feel of their desktop work environment to suit their own
tastes if that is what they want to do.
That is what this section of the manual is all about. If you get bored with the default setup, you can change it to your liking in a variety of ways.
Linux Lite comes with a few themes and icon sets pre-installed already and switching to one of those is quick and easy. You can also download and apply other
themes, icons and mouse pointers to your system if you’d like. The panel along the bottom of your screen that holds the Menu launcher and various indicator icons
can be customized in a variety of ways too.
In this section, we’ll start off with the more basic ways to customize your desktop. (Over time, we may add examples to this page of additional programs
that can be added to your system to spice things up a bit more.)
Tour
Here, we will give you a brief introduction to the Linux Lite Desktop. Let’s start the Tour.
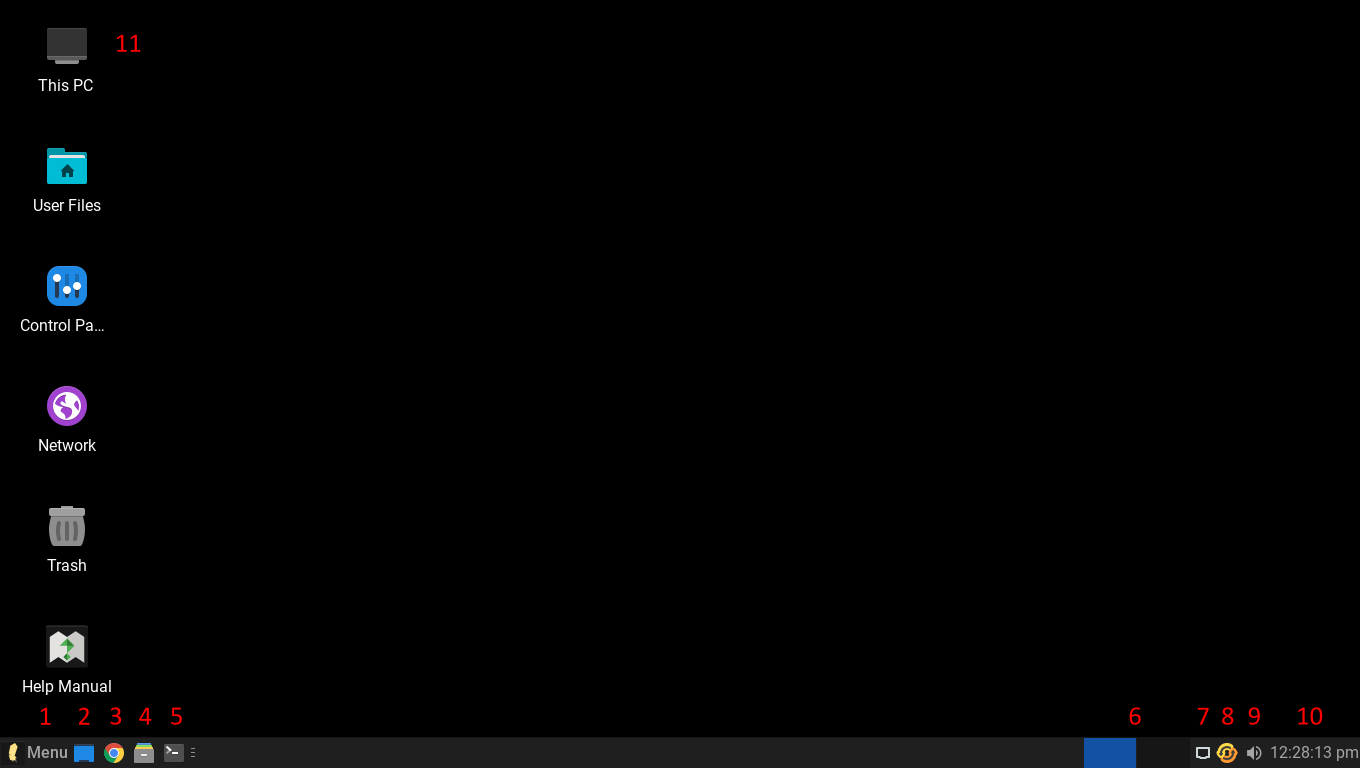
The Desktop layout
1 — 9 — Taskbar. This area consists of the Menu, quick launch application icons, workspaces and the system tray.
1 — Menu. This is where all of your applications are accessed. In Linux Lite, Menu items are categorized. See for more information.2 — Show Desktop. Clicking on this icon minimizes all currently open windows to the taskbar.3 — Web Browser. Here is where you can launch the web browser Firefox from to allow you to browse your favorite websites on the Internet.4 — Home Folder. This is where all your Documents, Downloads, Music, Pictures and Videos will be stored.5 — XFCE Terminal. Otherwise known as the ‘command line’. Here, you can run commands just lke you can in Windows (Command Prompt).6 — Workspaces. These are like virtual desktops. They allow you to run your applications on 2 or more Desktops, increasing your workspace.7 — Network Icon (system tray). Configure and connect to wired, wireless and VPN networks here.8 — Volume Icon (system tray). You can adjust the main volume level, or if you have several applications running sound, you can adjust each level individually.9 — Date, Time & Calendar (system tray). Here you can view the date and time, and also view the current months calendar by clicking on the time.10 — Desktop Icons. Quick and easy access to frequently visited places in your computer (English installations only).
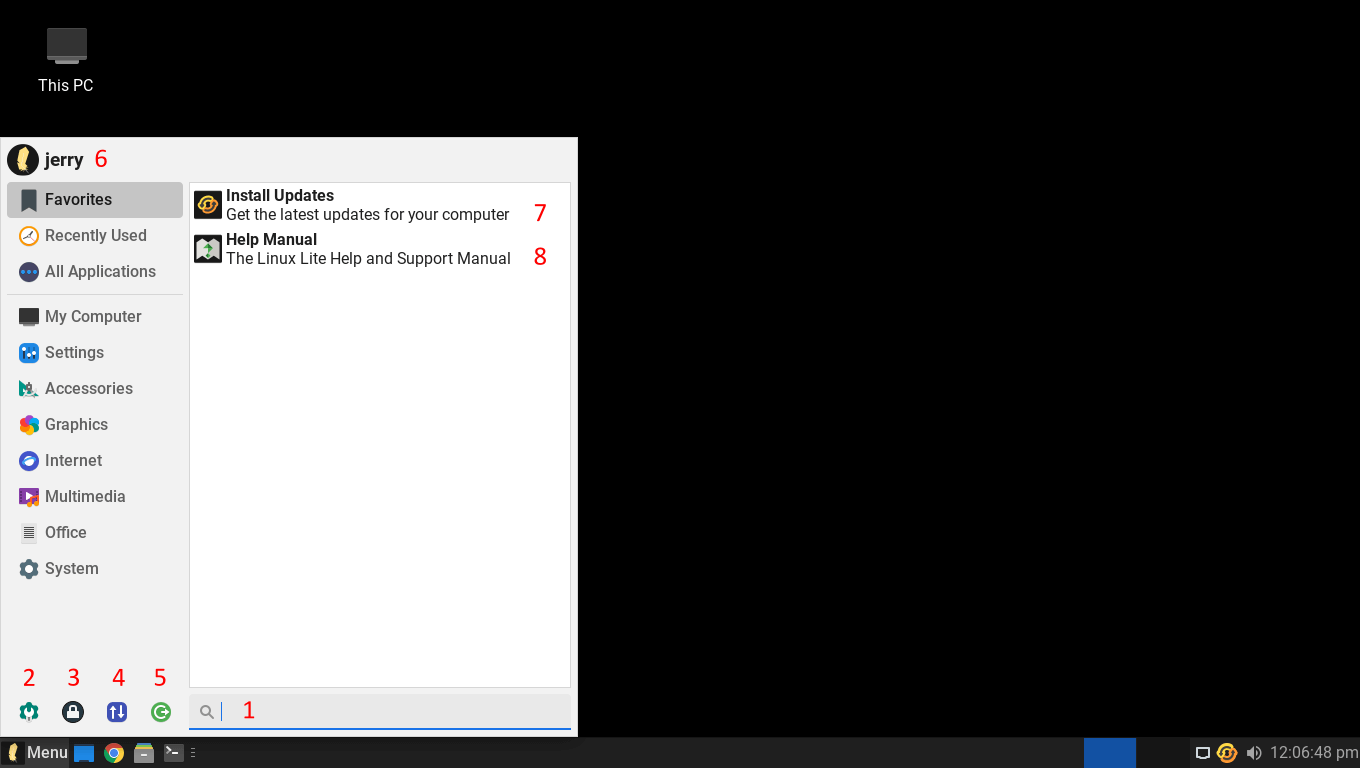
Menu Icons
1 — Search Bar. Here you can start typing the name of an application and the Menu will show that application to you in the list.2 — All Settings. This is the Settings Manager, similar to the Control Panel in Windows. This is where you can adjust things like your Display resolution and Power settings.3 — Lock Screen. Clicking on this icon will lock your screen. A handy feature to have when you are away from your computer for a short time and want it secured.
Enter your password to unlock your screen when you return.4 — Switch Users. Just like in Windows, if you have more than one user set up and you are both working on the same computer, here you can switch users without needing to login and logout each time.5 — Logout. Clicking on this icon will bring up a new dialogue window giving you the option to, Log Out, Restart, Shut Down, Suspend or Hibernate your computer.6 — Login Name. The name of the currently logged in user.7 — Install Updates. Click here to install the latest updates that help keep your computer safe and secure. See for more information.8 — Help Manual. A shortcut to the Linux Lite Help Manual, an excellent resource for learning how to use and configure Linux Lite.
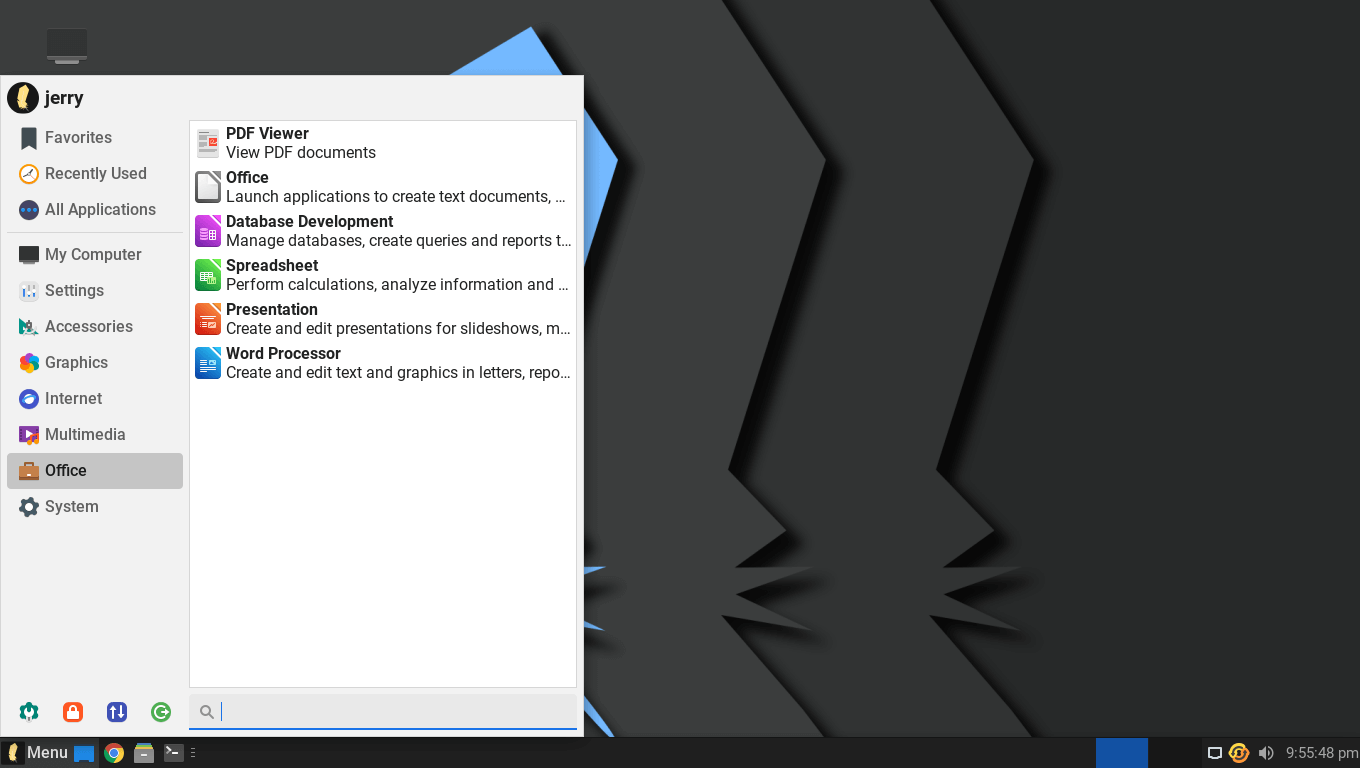
In Linux Lite, when you click on the Menu button, applications are stored in the Menu by category. For example, when you navigate to the Office category, you
will see all of the Office like applications.
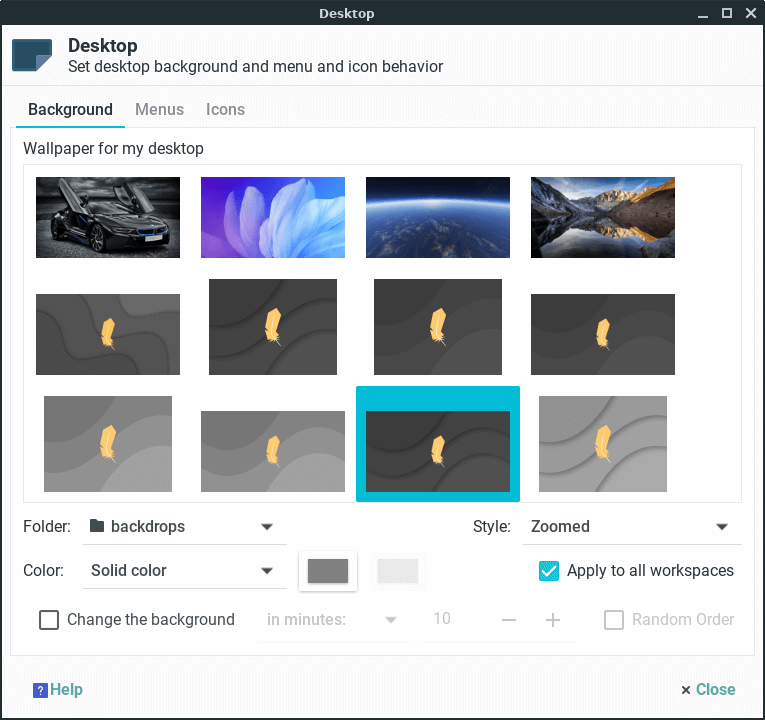
Desktop Settings — Changing the Wallpaper
When you right click on a clear space on the Desktop, you will get a menu of utilities to select from. To change the Wallpaper, select Desktop Settings from the menu.
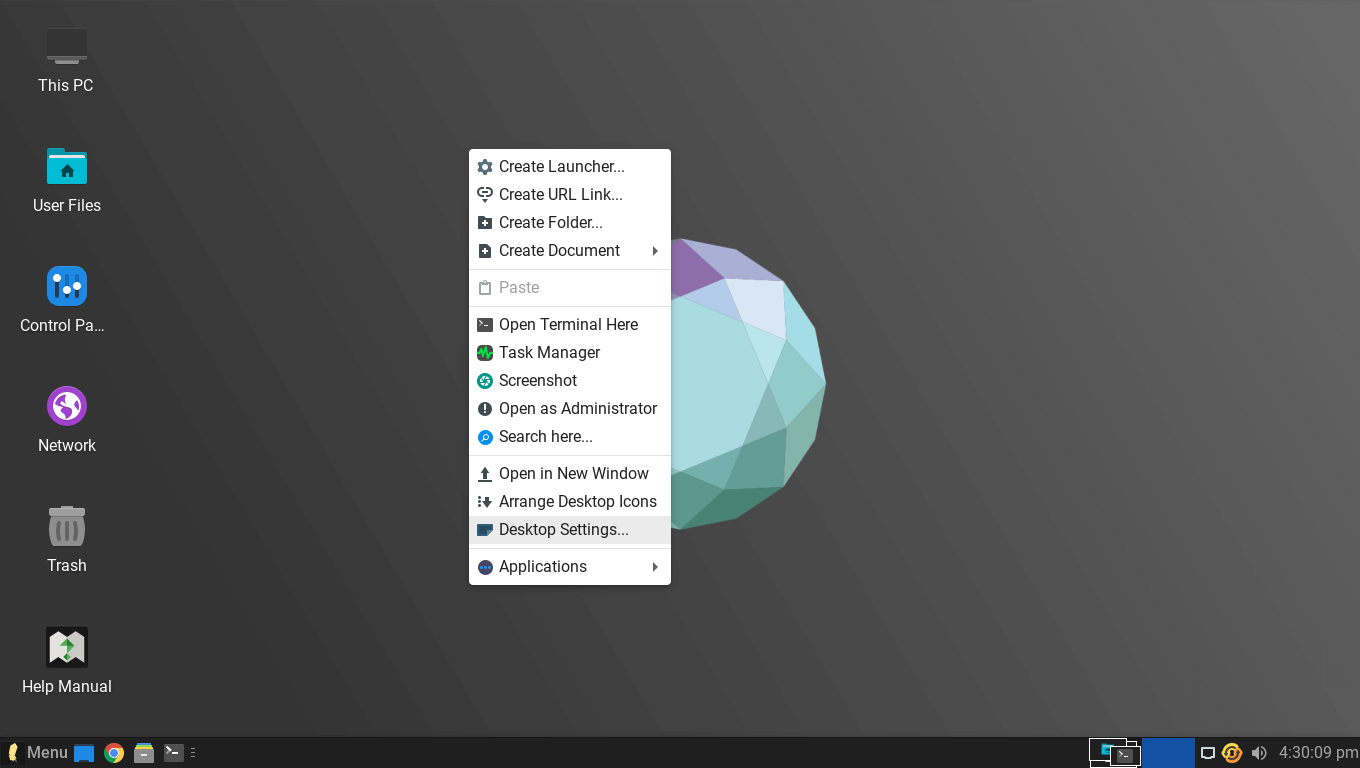
In the window that appears, left click on any of the wallpapers to set a new Desktop wallpaper. More information on this can be found here.
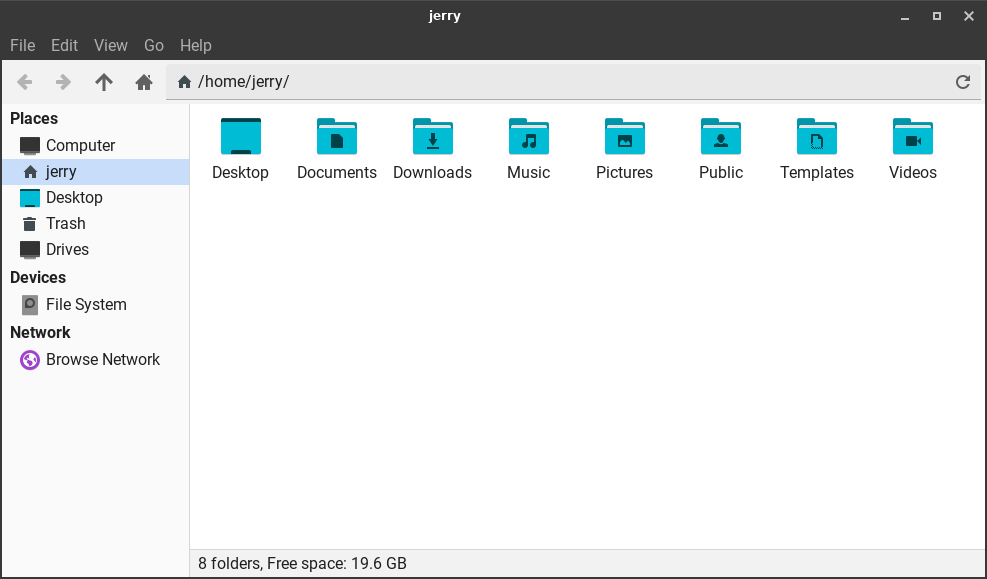
Home Folder
The equivalent of Explorer in Windows, is called the Home folder in Linux Lite. This is where all your files get stored. For example, when you download a file from the Internet,
that file gets stored in the Downloads folder. The rest of the folders are set up for your convenience in which you can organize your files according to their category. Your
music would go into the Music folder, your photos would go into the Pictures folder, and so on. You can store your files directly into your Home folder if you
choose to, but keeping files stored in separate folders sure does keep things tidy and easier to find.
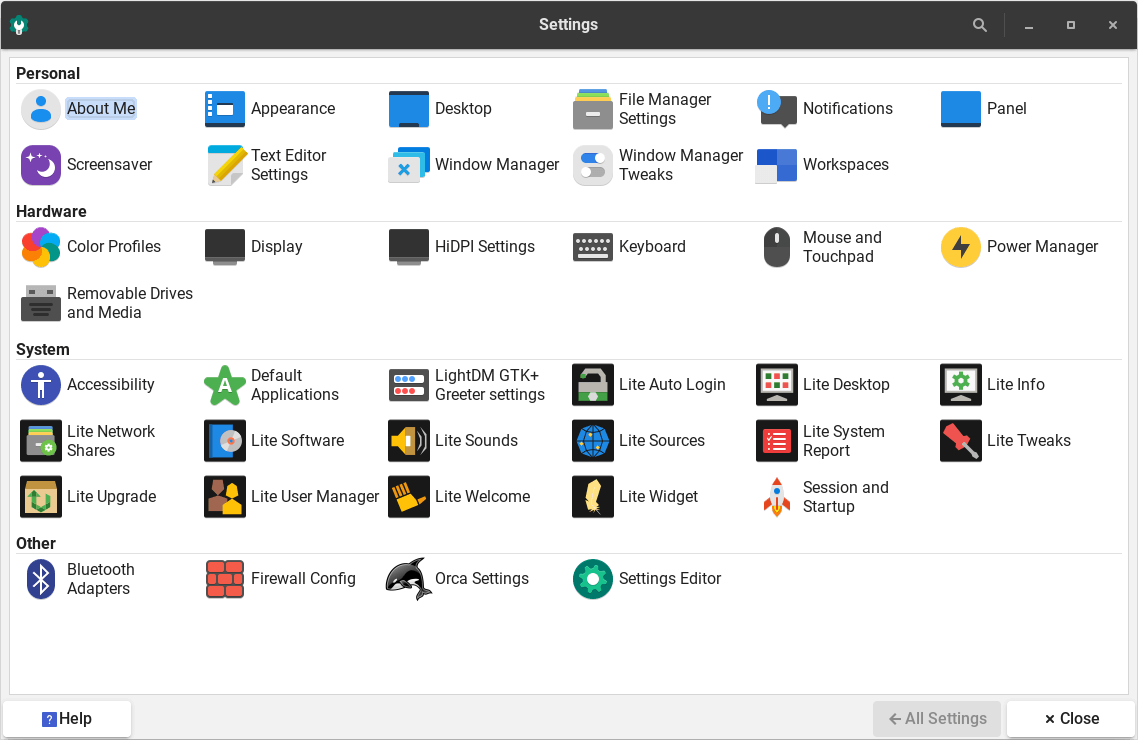
Settings Manager
In Linux Lite, the Settings Manager is like the Control Panel in Windows. This is a central place where you can configure all of your Linux Lite settings.
You can access the Settings Manager by going to Menu, Settings, Settings Manager.
This section will guide you on how to create your first Linux Lite share making the process as simple as it really is once you understand the basics:
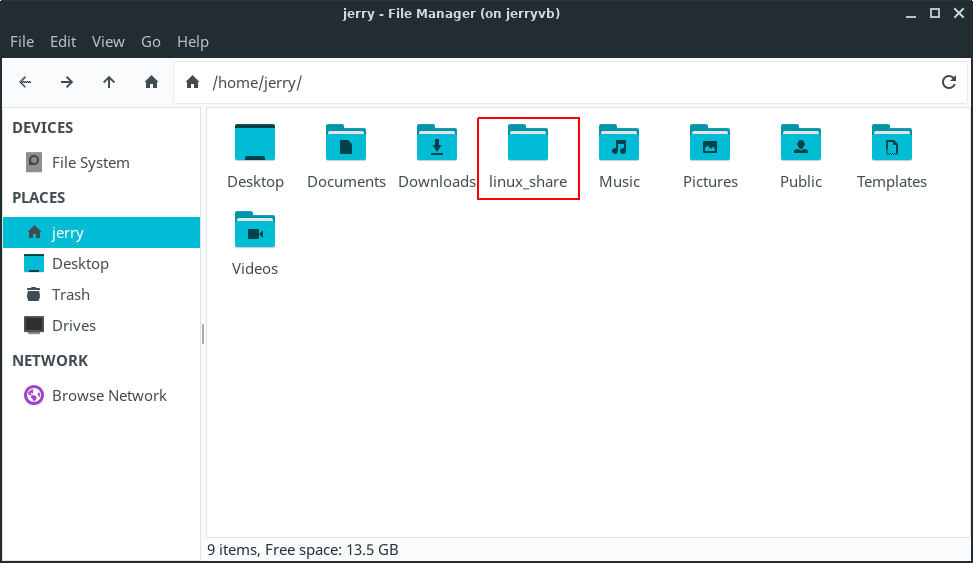
Create a new folder inside your home folder by right-clicking an empty section in your home folder and selecting Create Folder from the context menu pop-up. In this
example we will name it:
linux_share
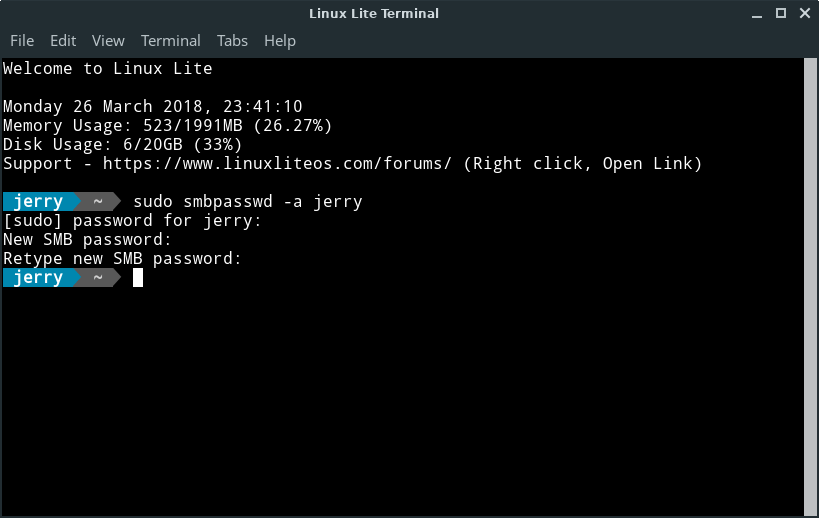
Next, we need to tell Samba (SMB) who we are going to login as to access our Linux Lite shares. Open up a terminal and type:
Terminal Command:
…where name is your Linux Lite username; in our case the username is jerry. For easily remembering the SMB password, you can use the same password for SMB as that in your Linux Lite
user account if you wish.
You’ll be asked to enter the new SMB password twice.
Open your home folder, navigate to the /etc/samba/ directory, right click on the file smbusers and Open as Administrator.
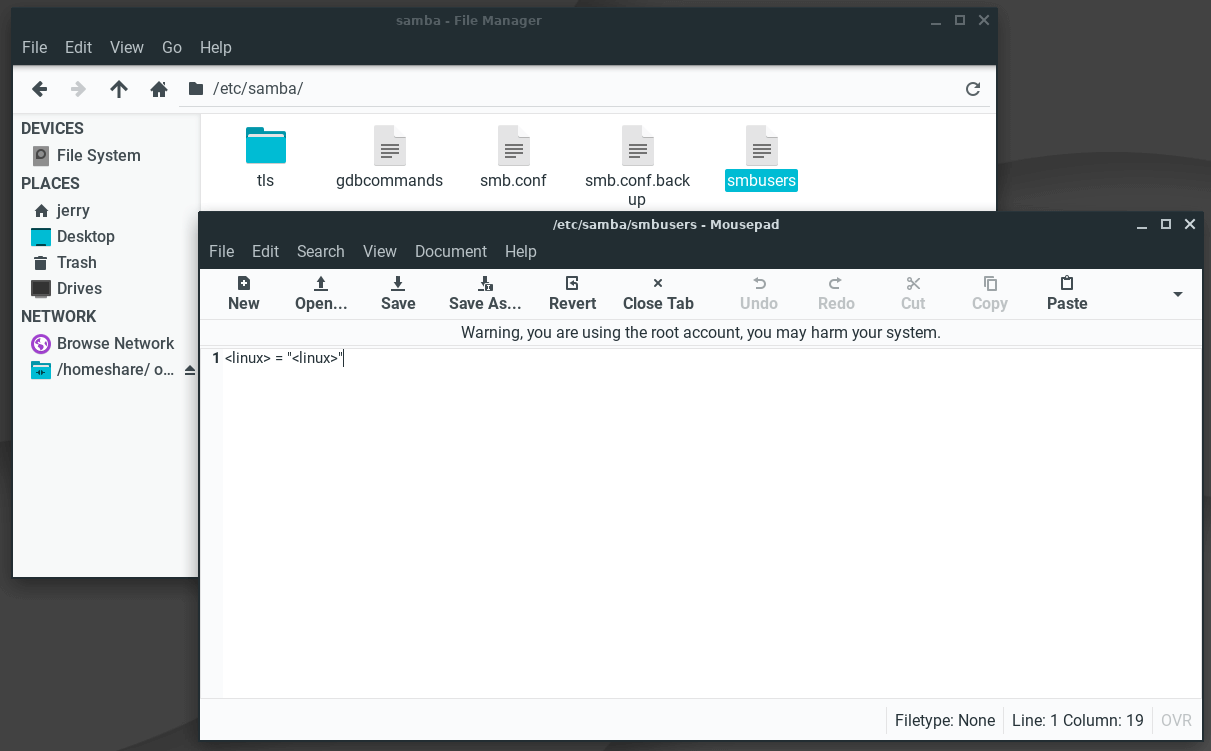
The file will open in the Text Editor. The smbusers file will contain a username map list (one per line) of your Linux Lite and SMB accounts.
We will replace the default linux = «linux» in that file with our Linux Lite username in each of the brackets:
username = «username»… in our case: jerry = «jerry»

You can now Save and Close the smbusers file, and close the terminal.
Open Menu, Settings, Lite Network Shares and click on Edit Share Settings.
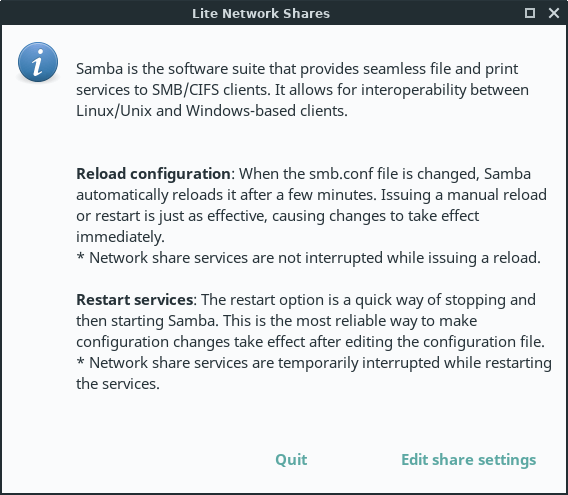
The configuration file will then open in leafpad text editor. Default settings are shown below:
|
#======================= Global Settings ==================================== workgroup = WORKGROUP path = /home/%U/linux_share |
For a first time basic setup, there is no need to change the default settings. You likely only need to verify the following:
|
WORKGROUP — must be equal to the workgroup name in your network. «WORKGROUP» is usually the default.netbios name — must be equal to the computer name. In a terminal type in hostname to get your netbios name.:~$jerryvb is the netbios name / computer name.path = the path to the folder in your home directory where shared files will be stored. ONLY change the folder name part; e.g.: /home/%U/linux_share » linux_share » is the folder name in Linux Lite you are sharing from your home folder. » %U » is Samba’s substitution for the username; meaning same as your username. Leave the %U as it is. Change ONLY the word » linux_share » to the name of the folder you created in the first step of this tutorial if you used a different folder name. |
Save and Close the file, then click on Restart services.
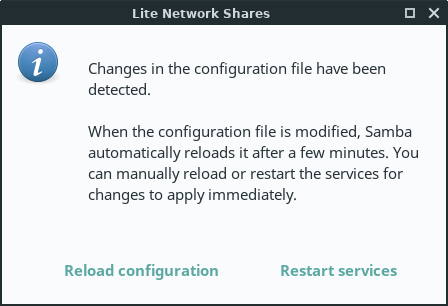
You can now access Linux Lite shares from another computer in your network.
TIP: Keep pressing F5 in the share folder, sometimes it takes a few seconds for the shares to appear.
If at any stage you want to add more share folders, you can simply add more blocks like in the example below:
|
#======================= Global Settings ==================================== workgroup = WORKGROUP path = /home/jerry/linux_share path = /home/jerry/Videos path = /home/jerry/Downloads |
Updates
Keeping Linux Lite up to date is a simple process.
At the top of Menu, Favorites, you will see Install Updates.
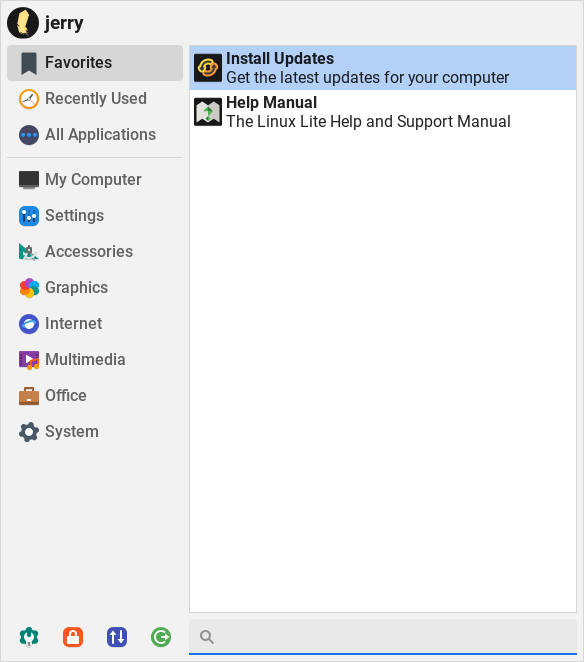
We’ve made the update process as simple as possible. Simply click on Install Updates and you will be asked for your
password. The program will then search for updates and if it finds any it will ask you if you want to continue.
(Note: The update process updates all software on the system that came from the repos. Unlike in Windows, there is no need to
update individual software programs manually. When you run Install Updates, that will update all packages that have updates available for them.)
You can set reminders in Linux Lite to tell you when new updates are available. For more information on this, click .
Creating and Extracting compressed files
Linux Lite supports creation and extraction of these archive file types using the Archive Manager program: .zip .rar .tar .tar.gz .tar.bz2 .7z
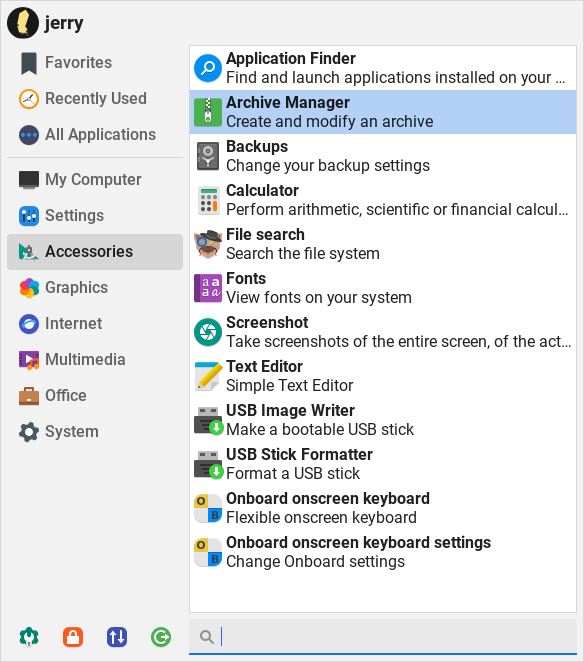
Archive files can be created/extracted through the right-click menu in the file manager, or by going to Menu, Accessories, Archive
Manager and selecting files to archive or extract from there.
Creating a compressed file
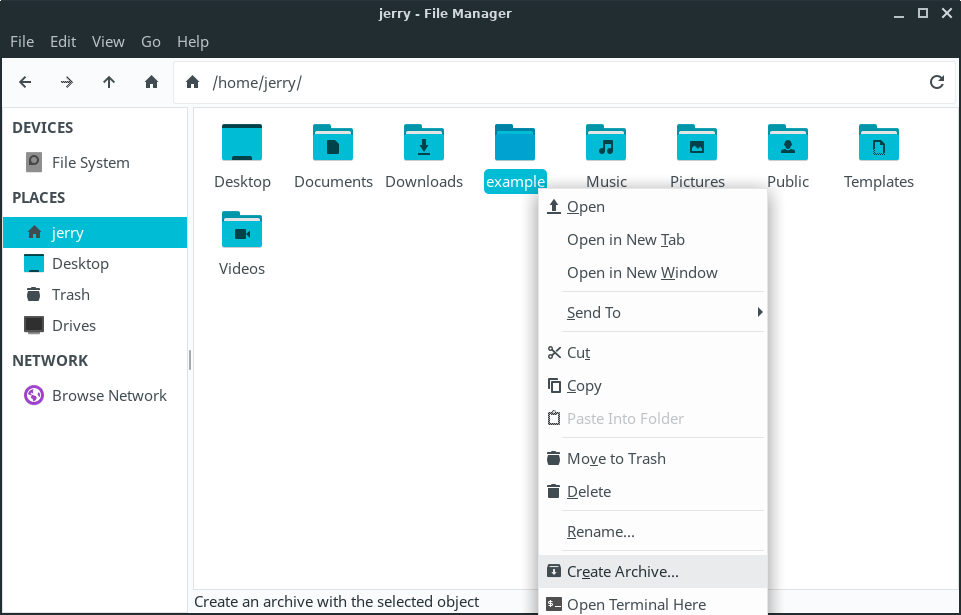
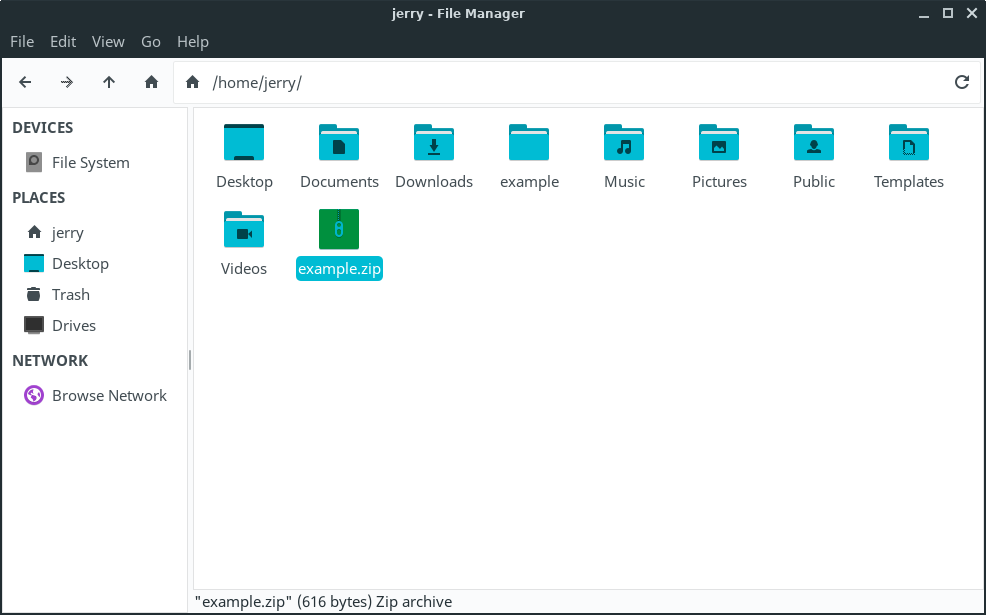
From within the file manager, right-click on any file or folder and select Create Archive. The following example will use a file named example.txt
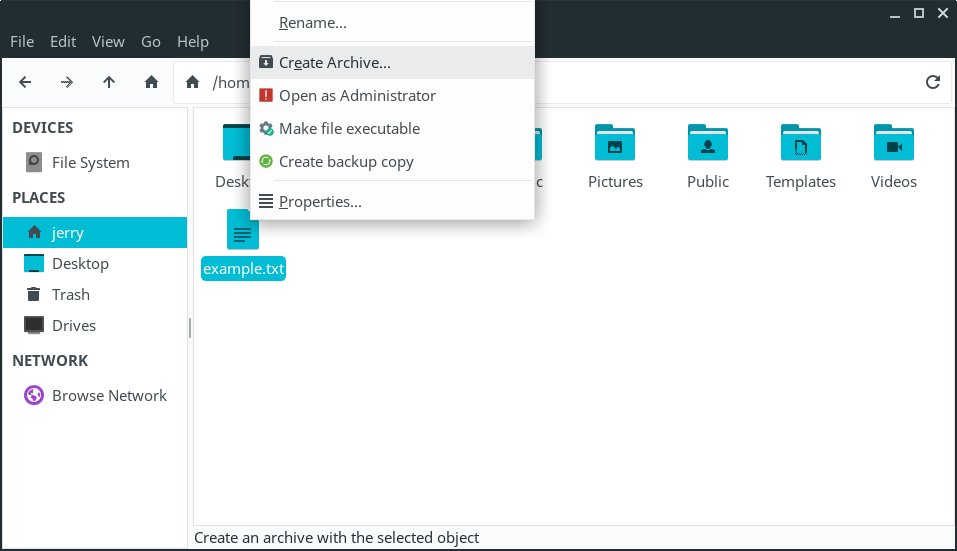
A new window will pop up. From here, type in the Filename, eg. example. Use the drop-down box next to the filename to select the .tar.gz
extension as the archive type. Choose a location to save the file in, then click on the Create button.
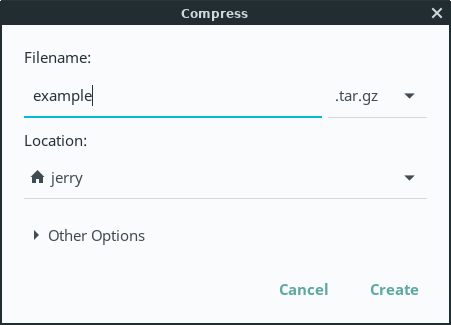
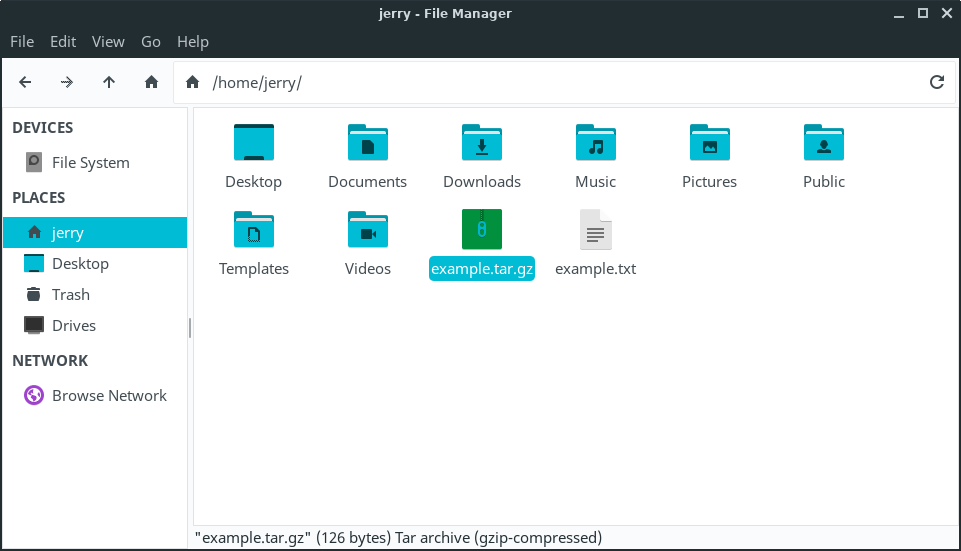
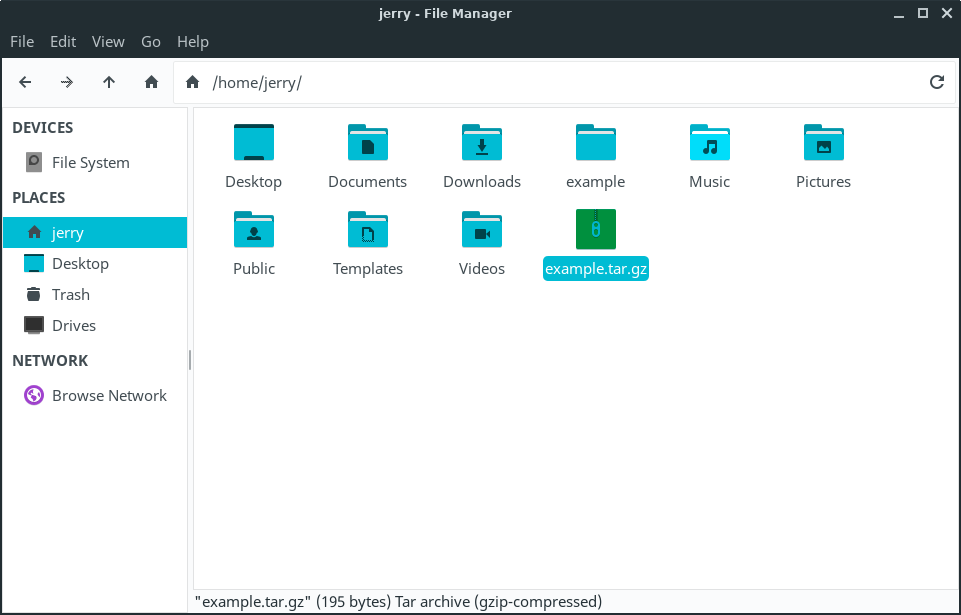
We now have a file called example.tar.gz
Compressing multiple files
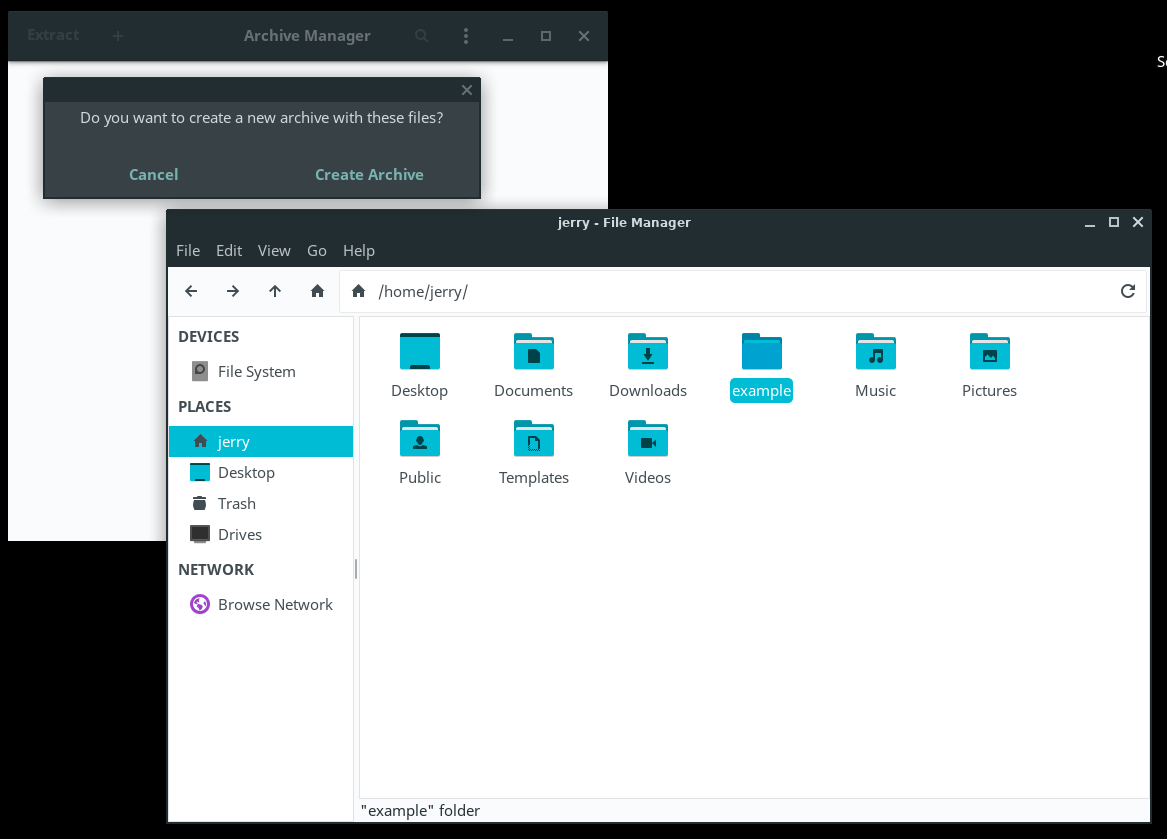
Best practice here is to place all the files you want to compress into a folder. In this example we have a folder called example and inside 3 files.

Go back to your home folder and right click on the folder containing the files you wish to compress. Right click the folder and select Create Archive.
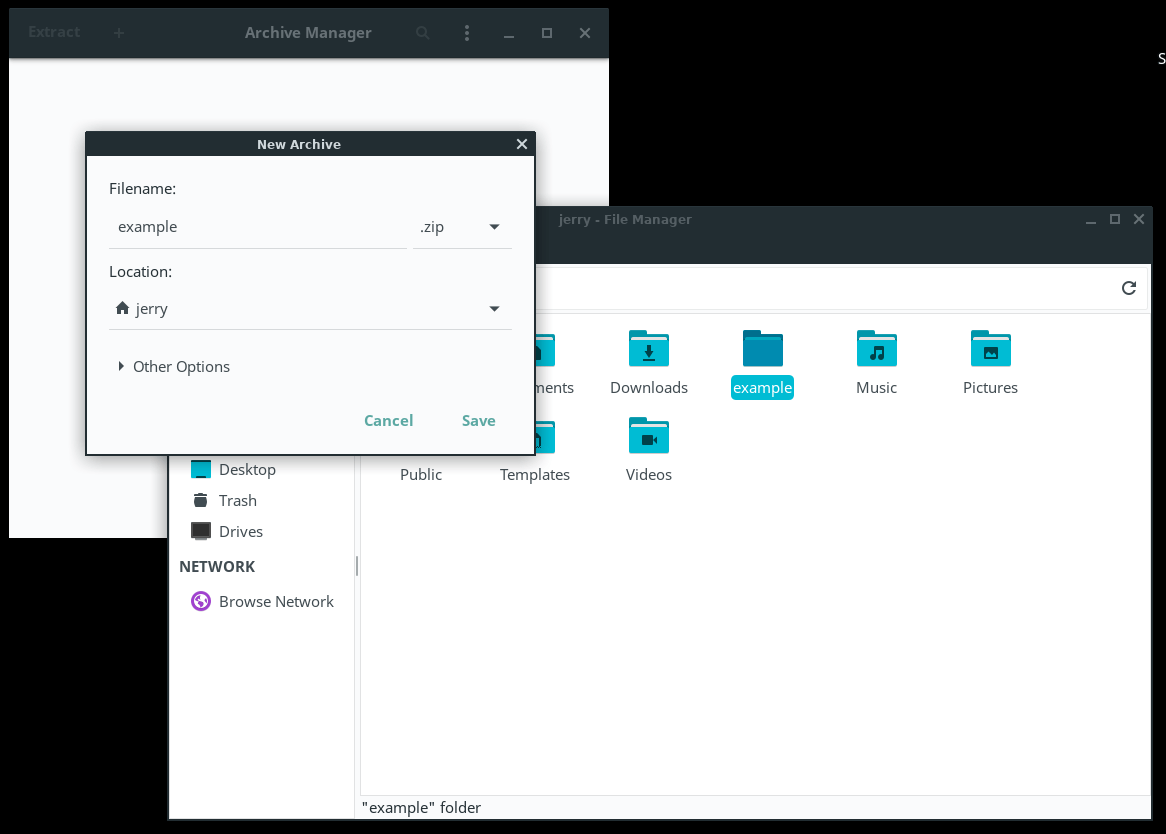
A new window will pop up. From here, type in the Filename of the file (eg. example) and select zip for the
archive type extension. Choose a location for the file, then click the Create button.

We now have a zip file called example.tar.gz
Extracting compressed files
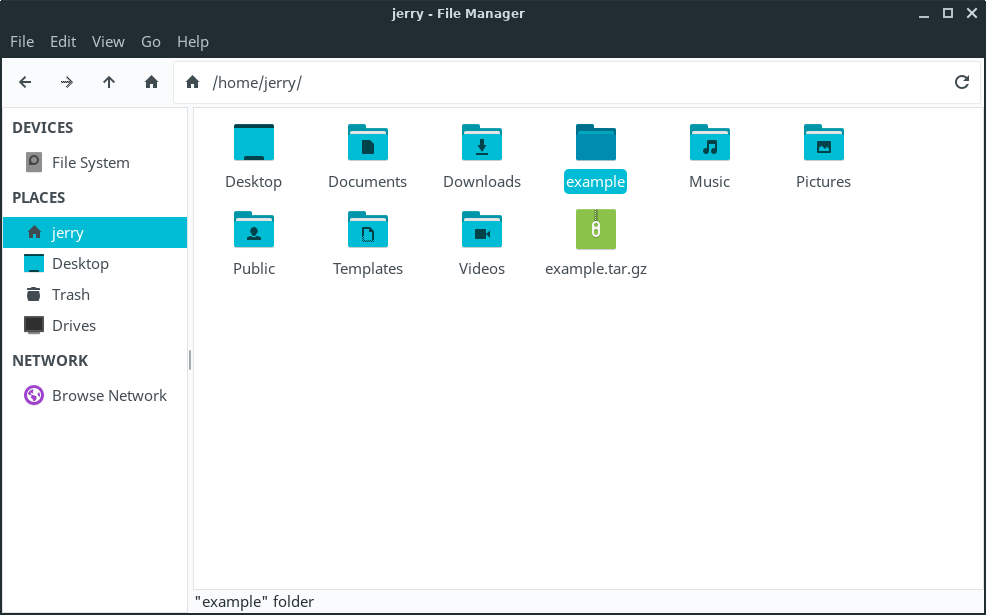
Right click on the compressed file and select Extract Here
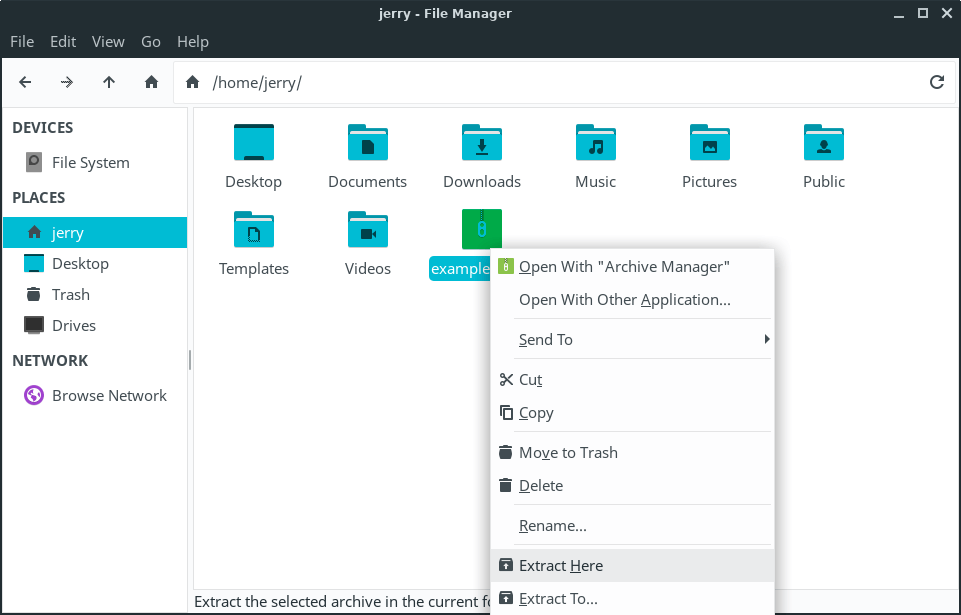
We how have a folder called example, with our 3 files inside of it.
Using Archive Manager from the Menu to create a compressed file.
Go to Menu, Accessories, Archive Manager.
Drag and drop from your file manager into Archive Manager the folder or files you want to compress. Now click on the Create Archive button.
Give the compressed file a name eg. example then click on the Save button.
Here is our newly created zip file in Archive Manager. Close that window.
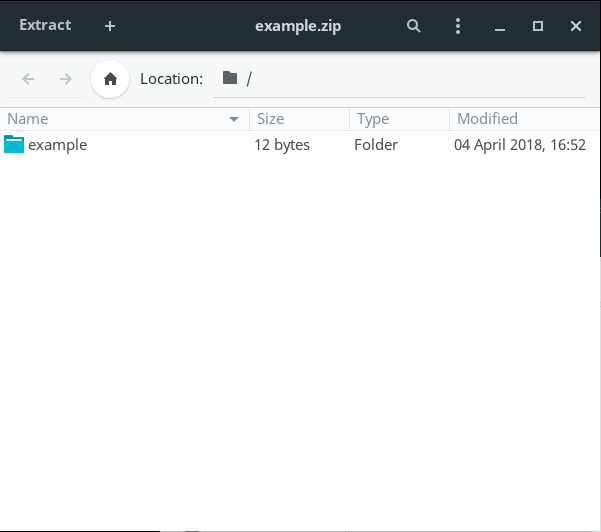
Here is our newly created zip file.
Релизы
Linux Lite начал с номером системы, представленным в виде — 1.0.0. «1» означает LTS базу Ubuntu 12.04. Второе число «0» сообщает промежуточный выпуск Ubuntu LTS, то есть «0» означает 12.04.1. Третье число «0» представляло собой любые точечные релизы после этого. Для серии 2.x третье число было отброшено, поскольку точечные версии не требовались.
- Linux Lite 3.6 Release — 1 Сентября 2017
- Linux Lite 3.4 Release — 1 Апреля 2017
- Linux Lite 3.2 Release — 1 Ноября 2016
- Linux Lite 3.0 ‘Citrine’ Release — 1 Июня 2016
- Linux Lite 2.8 Release — 1 Декабря, 2014
- Linux Lite 2.6 Release — 1 Апреля, 2015
- Linux Lite 2.4 Release — 1 Сентября, 2015
- Linux Lite 2.2 Release — 1 Февраля, 2016 (Окончание поддержки — Апрель 2019)
- Linux Lite 2.0 ‘Beryl’ Release — 1 Июня, 2014
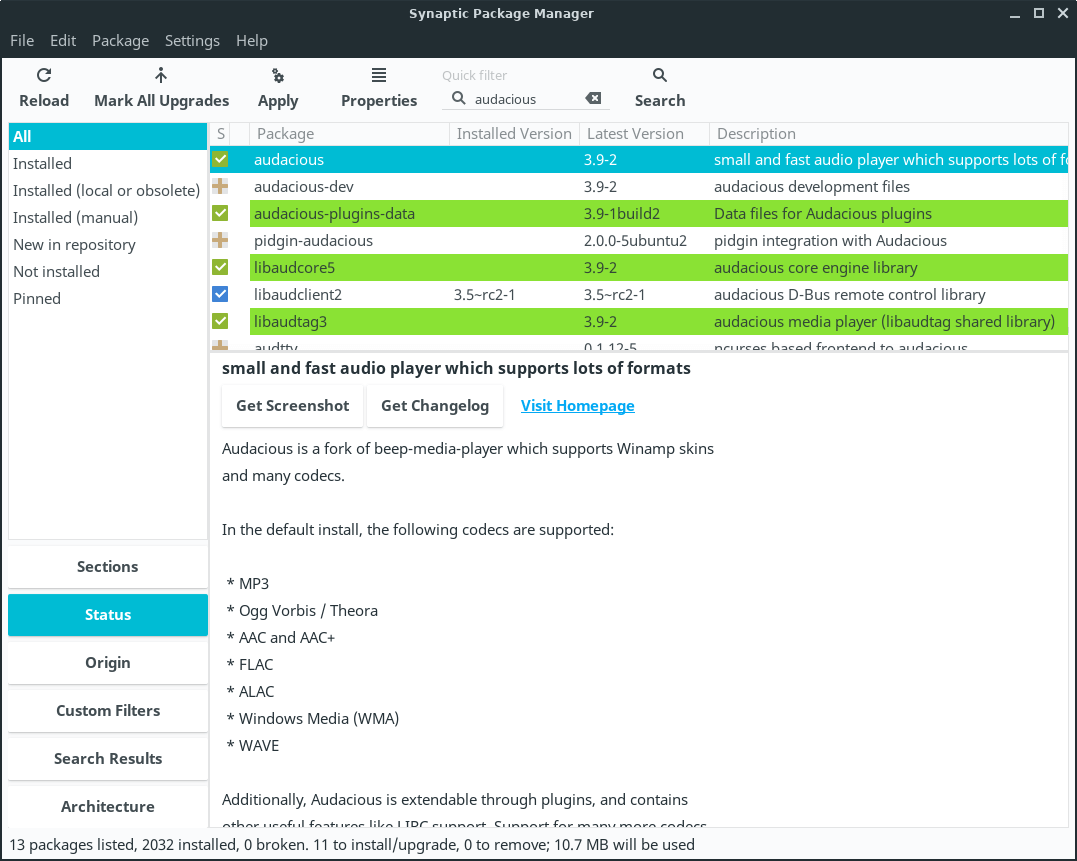
Installing Software
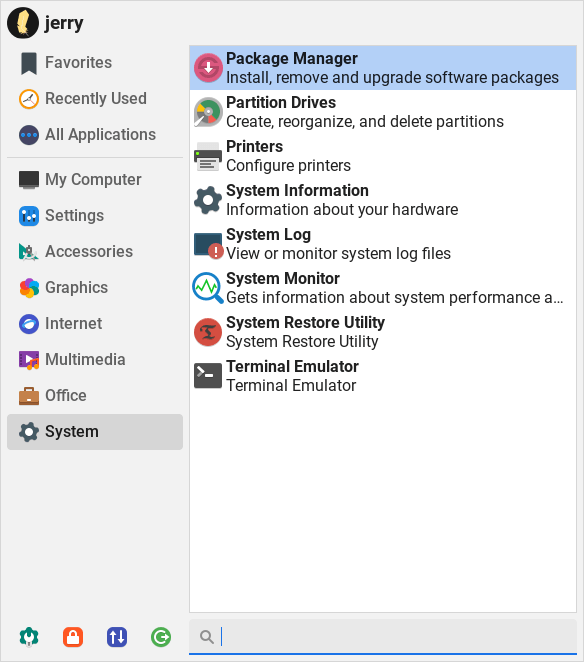
1. Click on Menu, System, Package Manager and enter your password when prompted.
2. Make sure All is selected in the left pane and in the Quick Filter or spy glass: type in your search query. In
this example we will search for the ‘audacious‘ music player.
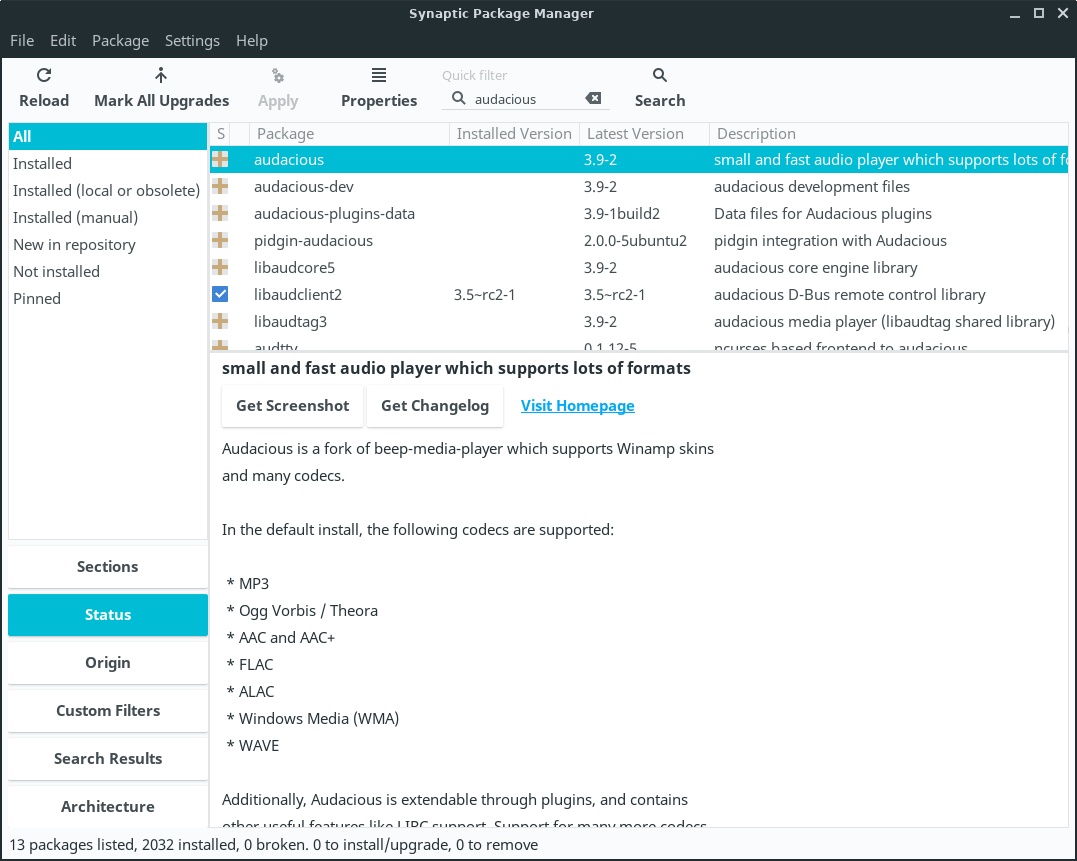
3. Double click on the package you want to install.
4. Some software will ask you to Mark additional required changes? These are also known as dependencies and are
required for the program to function properly.
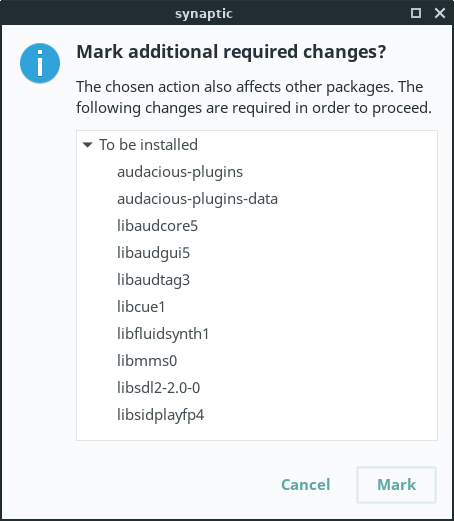
5. Click on Mark. Now hit the Apply button on the Synaptic toolbar. The software will install and a Menu
entry will be created in the relevant Menu category. For audacious the Menu category would be Multimedia.
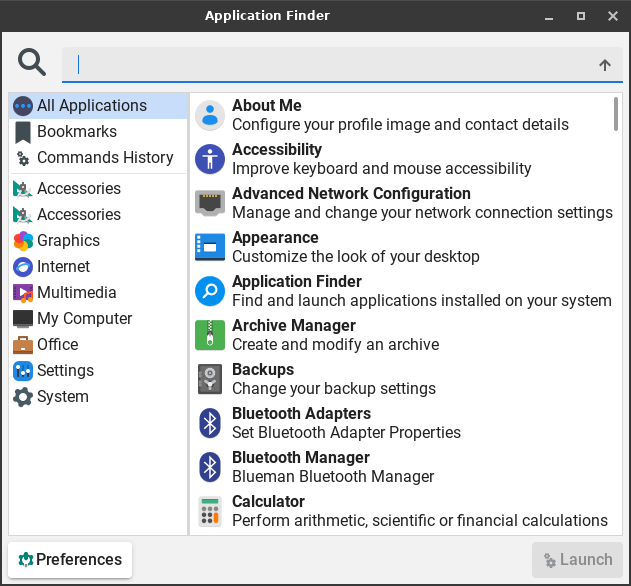
6. Go to the Menu and your new software will be there under the relative Category. An alternative way to find your new software is to click on Menu,
Accessories, Application Finder. Type your program name in the Search box and the result will display on the right.
Double click on the program name and it will launch for you.
Управление программами
Lite поставляется с двумя графическими менеджерами пакетов. Первый — это Synaptic (указан в меню приложений как «Add/Remove Software»). Synaptic — это мощный и гибкий менеджер пакетов, который может выполнять установки, удаления, обновления и даже настраивать репозитории. Это отличный менеджер пакетов «все-в-одном». Если мы хотим работать исключительно с десктопным программным обеспечением и не пробираться через десятки тысяч пакетов, доступных в Synaptic, мы можем запустить утилиту под названием Lite Software. Lite Software показывает нам ограниченный список популярных настольных программ, всего несколько элементов для каждой категории, но делает установку новых программ очень простой. Мы можем выделить элемент (или элементы), который нам нужен, и нажать кнопку, чтобы установить их.
Я не увидел более функционального менеджера программного обеспечения, такого как GNOME Software или mintInstall, по крайней мере в установке по умолчанию. За кулисами мы можем использовать APT для управления пакетами в командной строке, если мы хотим работать с терминалом.